My Favorite Sewing Tools

My Favorite Sewing Tools

Today I’m going to tell you about my favorite sewing tools! The best way to learn about these tools, why I like them and how I use them is to take my free DIY Athletic Leotard Course. You’ll see in real time in videos exactly how I use them. However, I thought it would be nice to have a summary of all of them one place so that you don’t have to dig through all the videos to get the gist.

Heads up: some of the links are Amazon affiliate links. That means that if you choose to buy one of these items through the link, I’ll earn a small commission at no extra cost to you. This helps me to keep the DIY Athletic Leotard Course free! 😊 Hopefully it will be super obvious to you that I’m very honest about these tools. I don’t want you to buy them if you don’t need or want them. But if you do decide that you like them, like I do, I’m super grateful to anyone who chooses to purchase through my affiliate links!

Sewing Machines

Sergers are the bomb. 💣😎

Sergers are faster than sewing machines, and it’s so awesome to sew a seam and finish the seam in one easy sweep. I love that serger seams stretch.

I have been very satisfied with my Brother serger. I believe it’s still one of the cheapest sergers you can get—it was when I bought mine—and even though it’s cheap it still works really well. I will add that I still love it even after using heavy duty industrial sergers, which are much faster and obviously higher quality. Even so, this serger has not let me down and I’ve had few to no problems with it. It’s great.

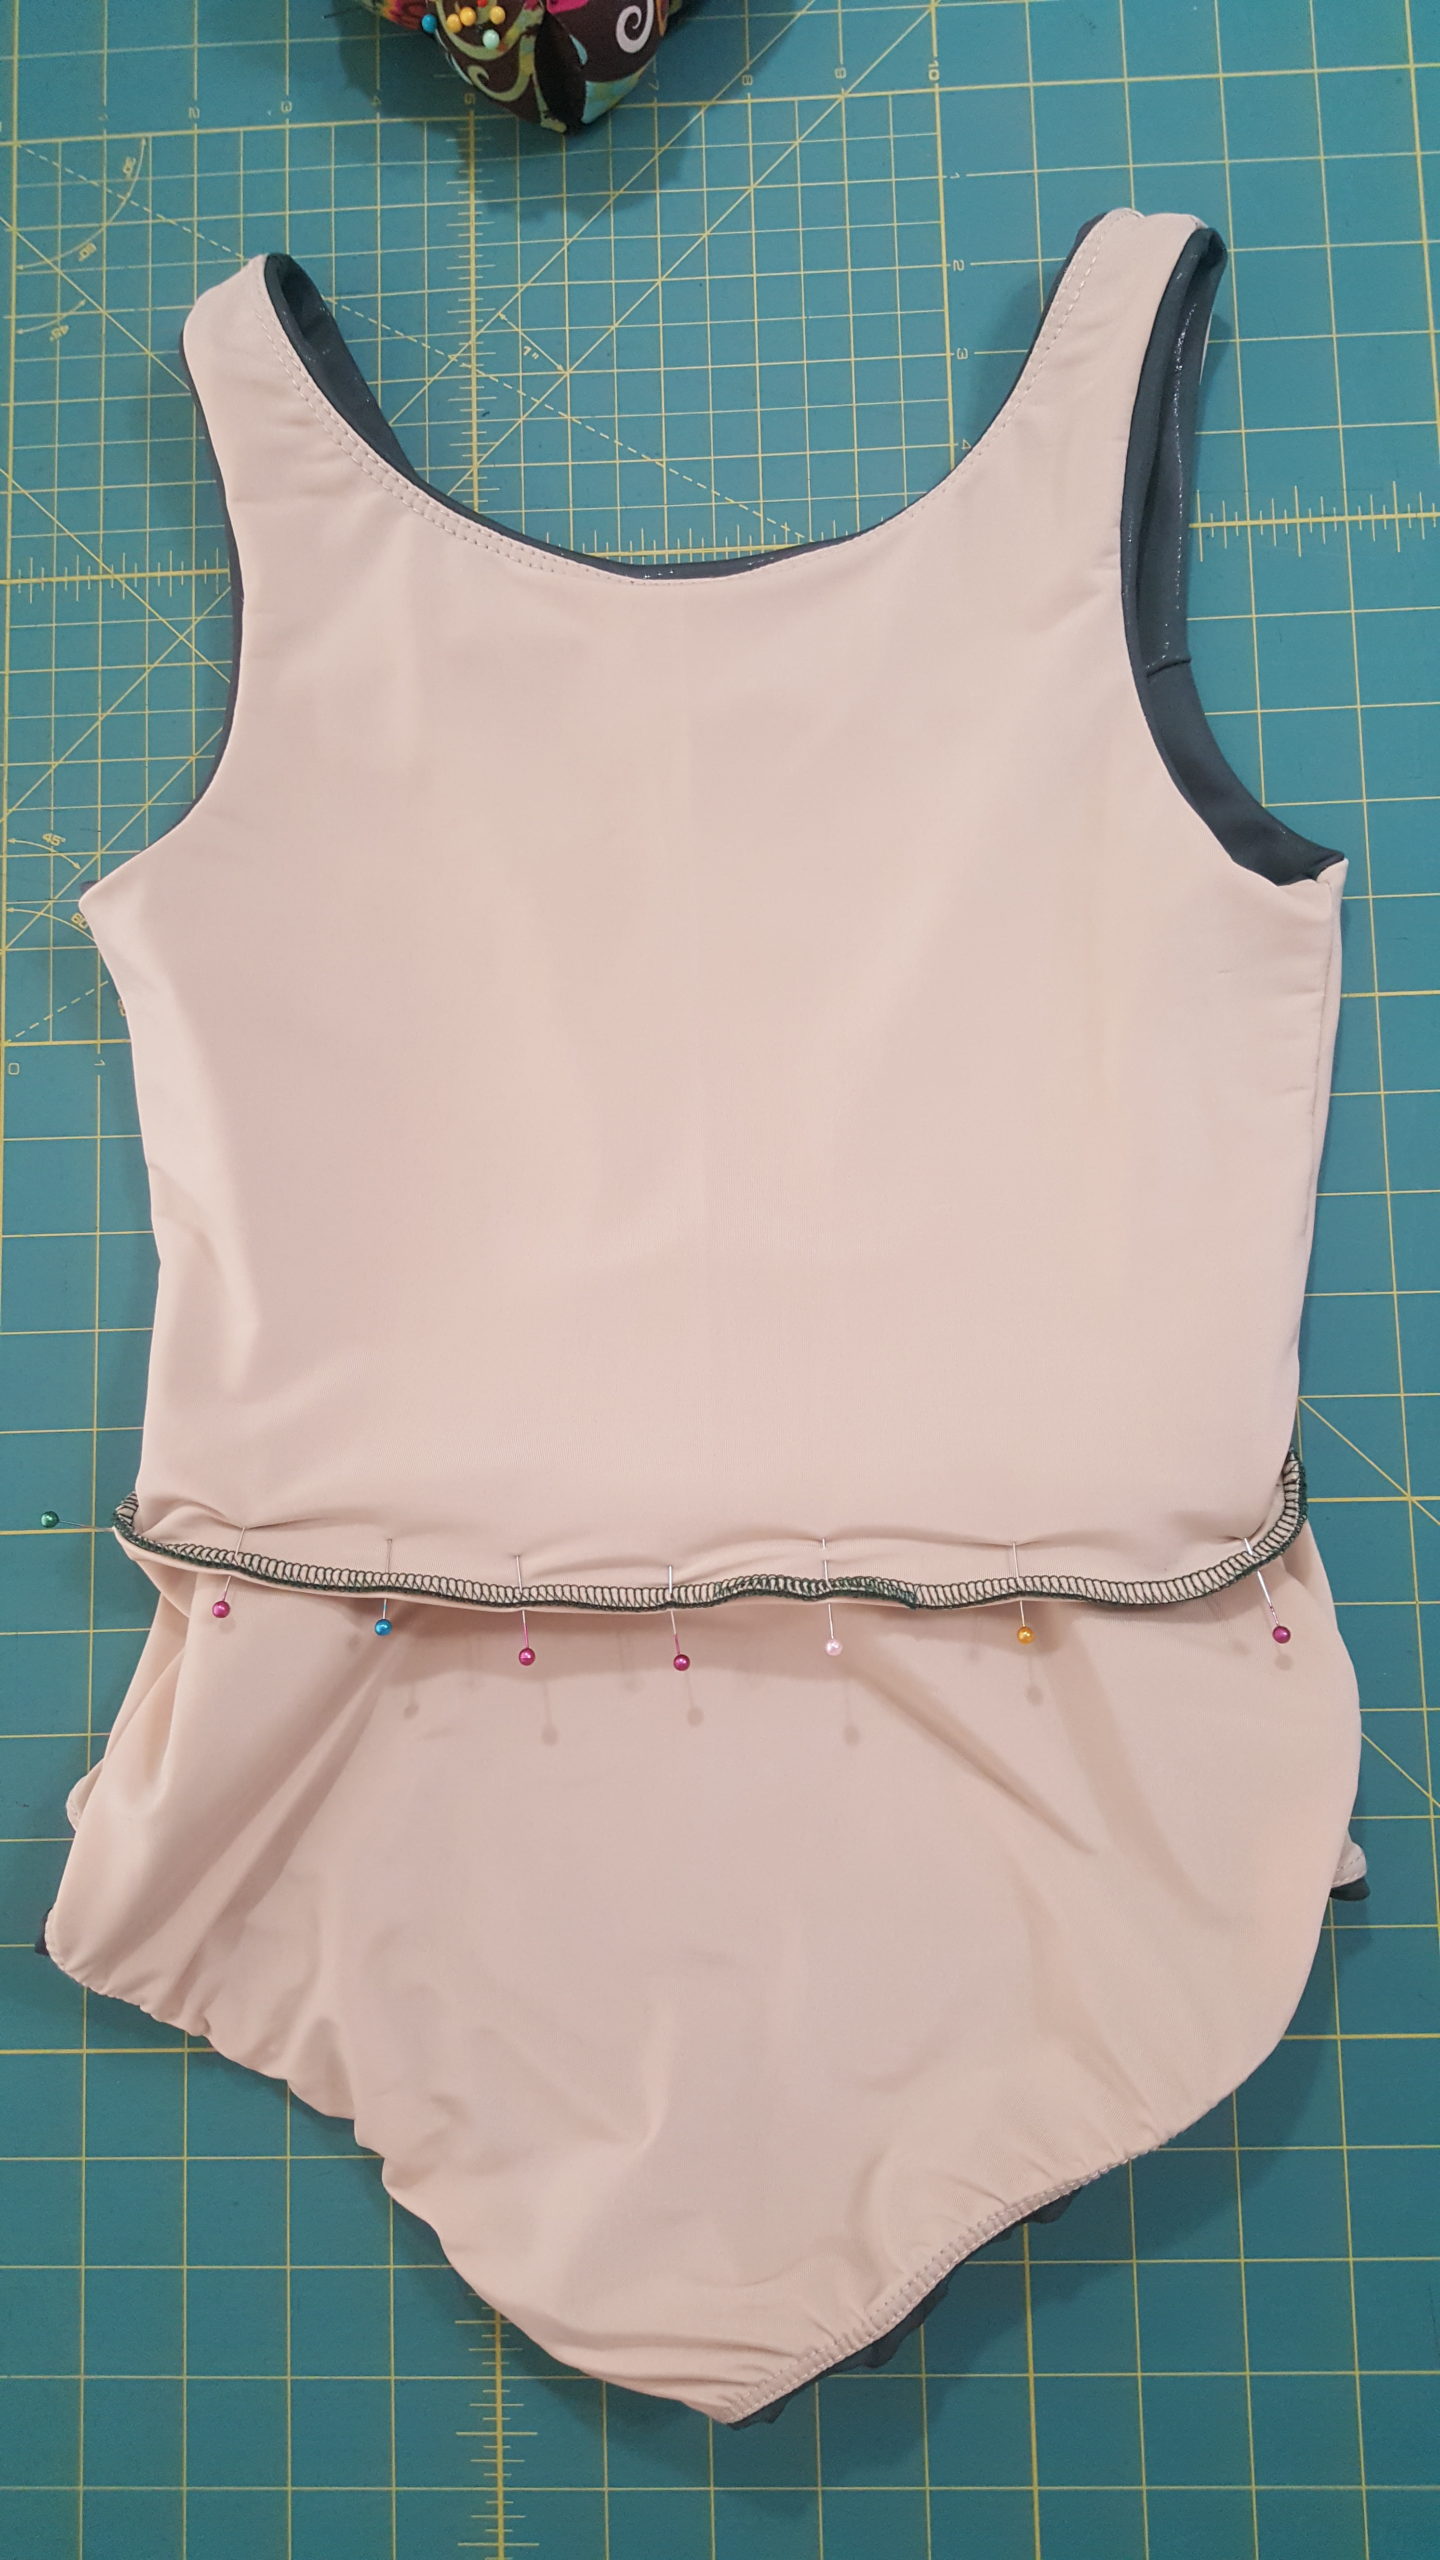
I use my serger for the great majority of my sewing, especially when sewing leotards. It’s awesome to use with stretch fabrics. The only time I’d prefer to use a regular sewing machine instead is when I’m sewing weird angles that need a lot more detail and precision. For most seams, I think sergers are the best.

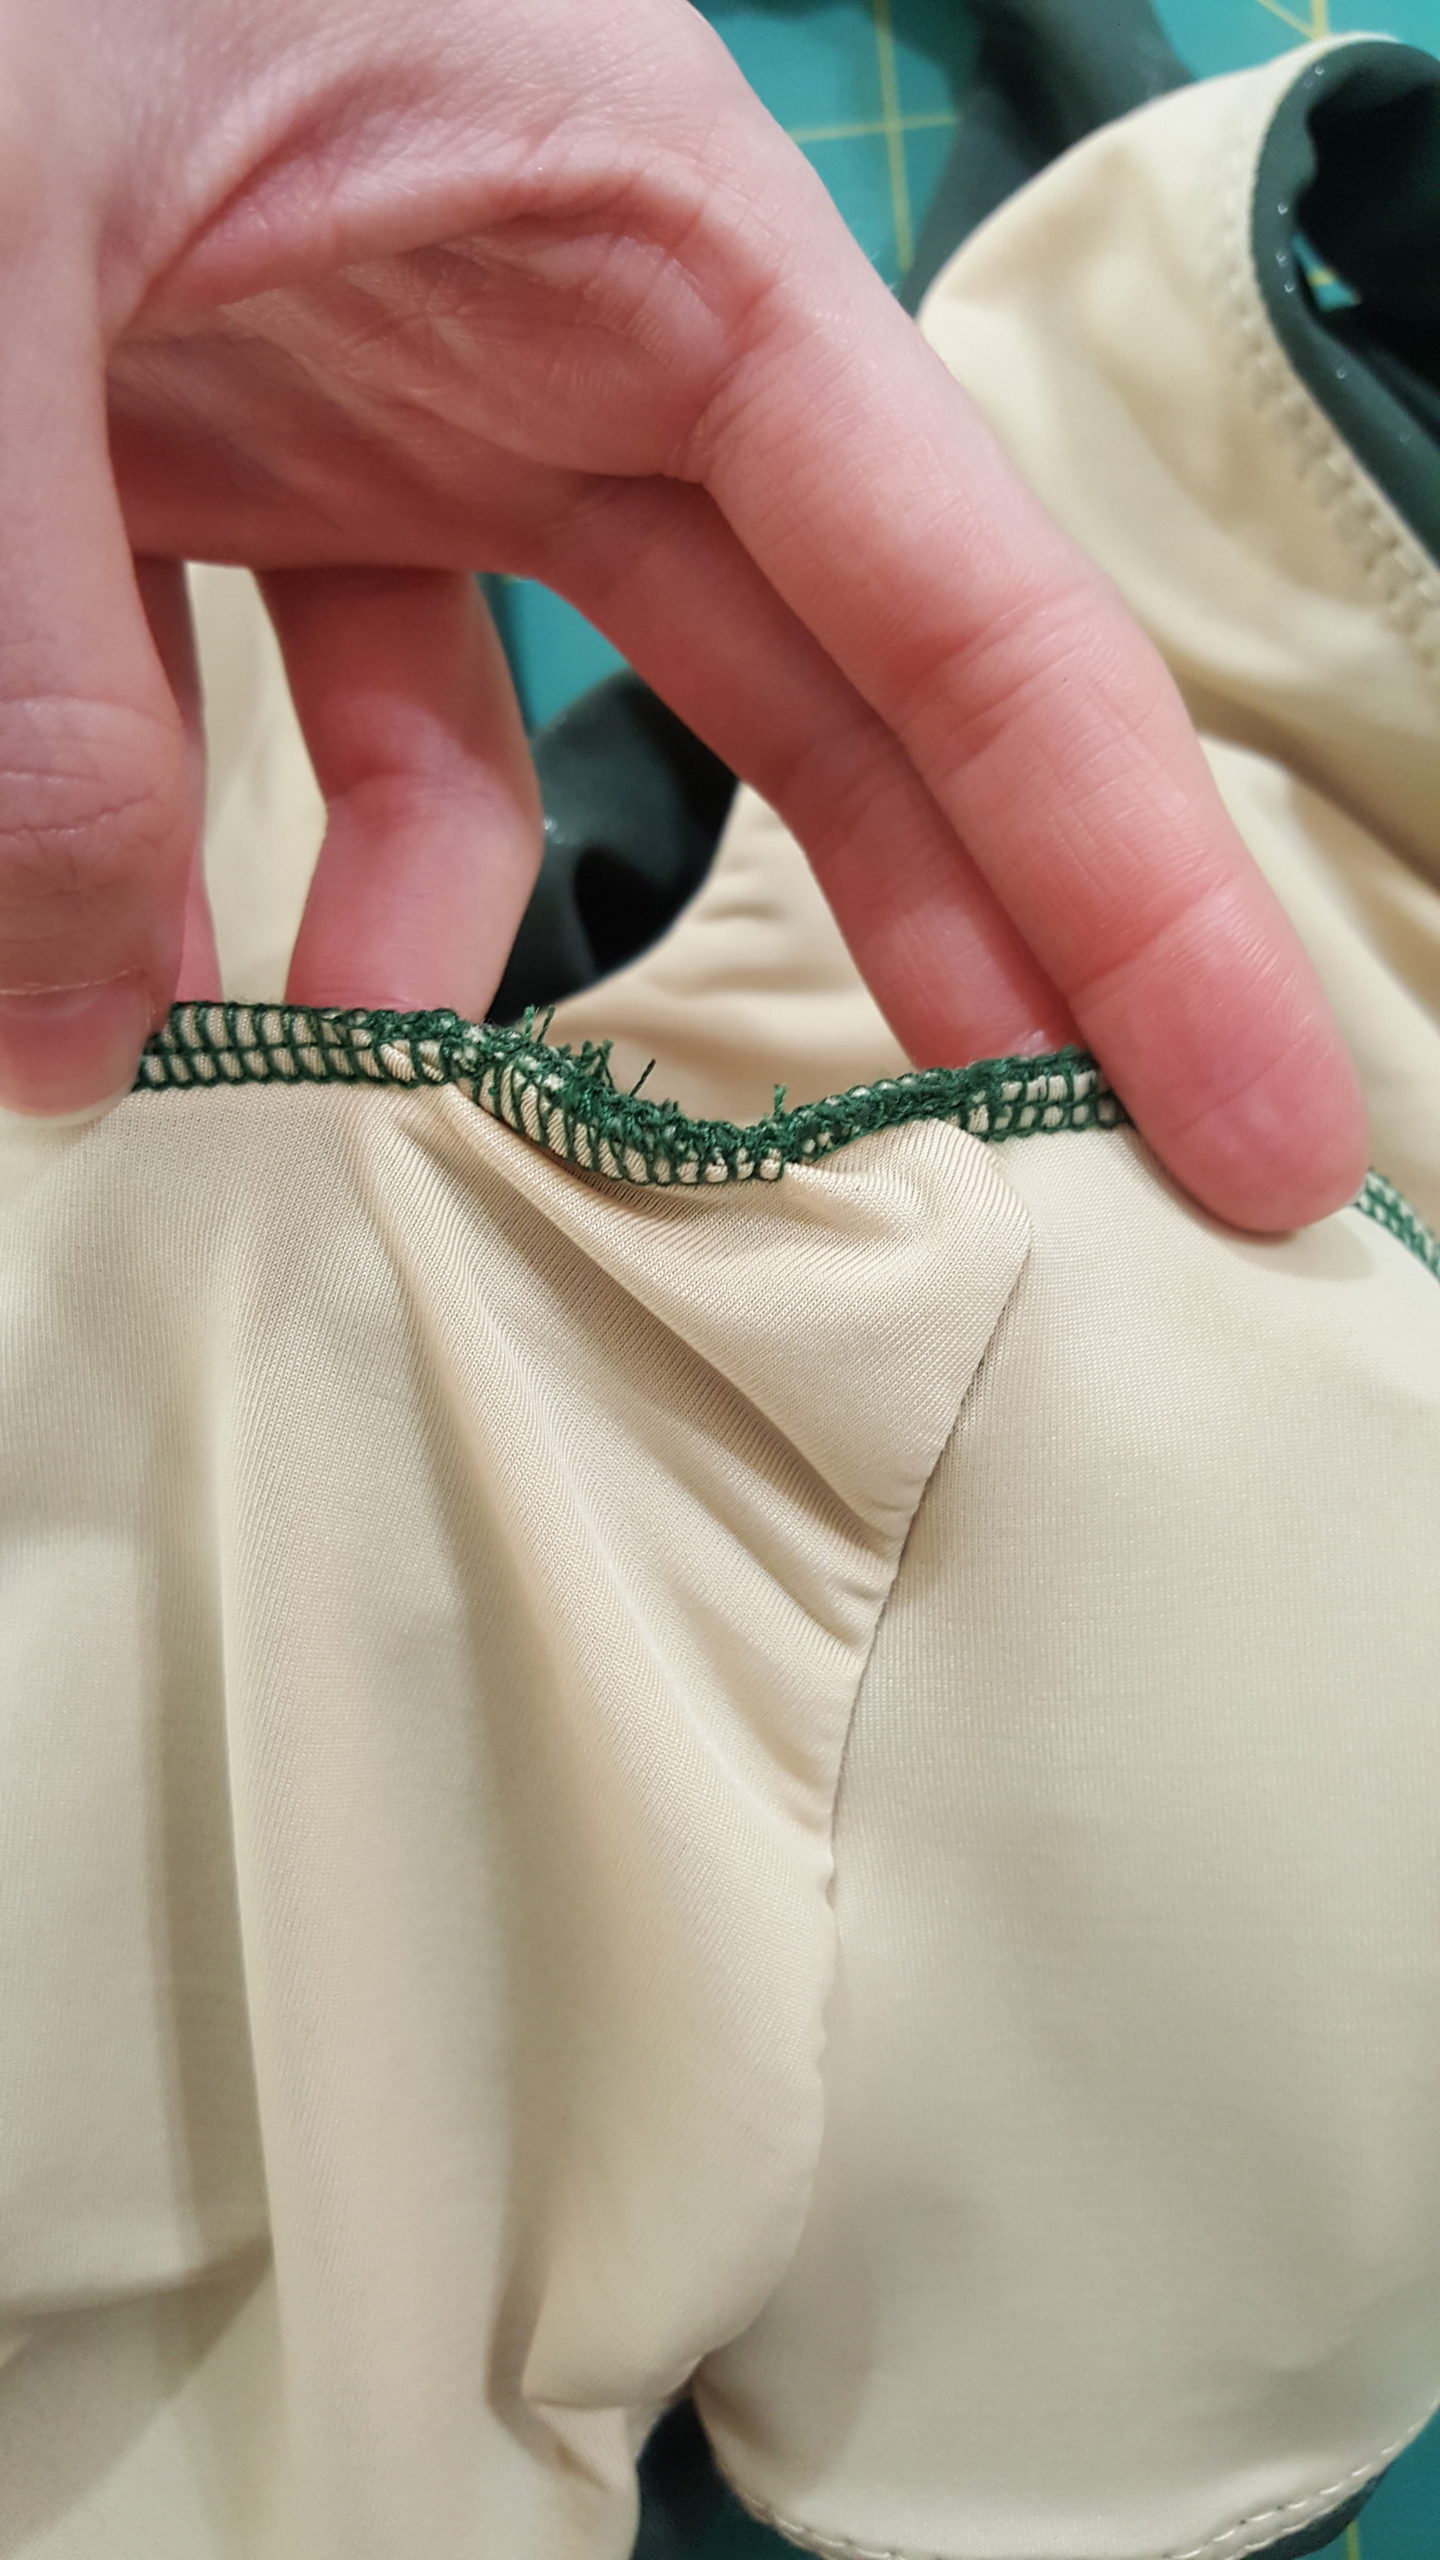
Though it looks a lot like the serger, the Brother coverstitch machine is a different animal. I will be honest in my opinion of it—it’s definitely not my favorite machine. While it is generally used for hemming (see the double-needle stitching on the hems of your t-shirts and the overlock stitching on the inside of the hems), I use it most for “coverstitch understitching” the elastic on the neckline and legholes of my leotards.

This machine does work, and depending on when and where you buy it, it’s a fairly good deal compared to other coverstitch machines. (In December 2020, when I’m writing this, it has gone up from $386 to $849 in the past month on Amazon!) I wouldn’t buy this machine for over $400. In fact, I personally wouldn’t buy this machine again, I’d buy a better one even if it’s more expensive.

If I wouldn’t buy it again, why do I include it on this page? Because, if you’re like me, you might be wanting to get started with the cheapest machines that work that you can get. So, depending on your situation, this might be the best machine for you right now (not if it’s over $400!). This machine does work, and you can get a good result with it, there are just some weird things about it for you to be aware of. 

Probably the biggest, weirdest thing about this machine to get used to is how to pull it out of the machine after you’re done stitching, and without undoing your last few stitches. There can also be issues with skipped stitches and whatnot. 

If you’re going to get this machine, you’ll want to join the facebook group to see videos and get help from people who use this machine all the time. There are those who love this machine and swear by it. They seem to think that if you’re having a problem with it, it’s user error and not the machine’s fault, haha. My personal opinion is that a machine shouldn’t have so many quirks and be so tricky to figure out. It seems that people who have used other coverstitch machines aren’t willing to put up with this one. I know there are better machines out there, so I really only recommend this machine if you’d otherwise be unable to get one due to the cost, and if you’re willing to learn tricks to make this machine behave. I’m sure I’ll update this page with a new coverstitch machine when I buy a new one. 

This is my third Brother sewing machine, and I definitely love it and get along with it very well. These days I don’t use it as much, since I’m mostly sewing leotards and prefer to use my serger. But it is nice to have when I need to sew odd angles, like I mentioned—I use the triple straight stretch stitch and it works really well, although it is much slower (it’s literally two stitches forward and one stitch back). 

Of course, leotards are not the only thing you can sew, and it’s been great to use for lots of things. One thing I love about this machine is the buttonhole foot. I’d used Berninas before, and while they’re technically higher quality machines, I like the buttonhole foot for this machine so much better. With some machines you have to calculate how big the buttonhole should be; however, with this machine, you literally take the button you’ll be using and put it in the foot. It adjusts around it and automatically makes a buttonhole the right size for that button. It’s awesome. 👌

Sewing Machine Accessories

This was something I didn’t know I needed until I started using my serger, and it stitched and vibrated so violently that it bounced up and down on the desk and rotated itself with every new seam! 😆

This sewing machine mat keeps my serger in place, makes it less noisy because the padding muffles the vibrating, and it also makes a nice extra pin cushion. Highly recommend.

These things are life savers. They’re awesome for cleaning out your machines, especially in hard-to-reach places. They save a lot of time—it’s so much faster to blow your machine out than to use little brushes to try to brush out all the little crevices. Of course, sometimes you might still need a brush in addition, but compressed air helps so much. And it keeps little pieces of thread from the last project from getting sewn into your new project of a different color. 👍

Tweezers are a great help for threading sergers, and the Brother 1034D comes with a pair of tweezers, but I think these ones are a lot better.

serger tweezers.png

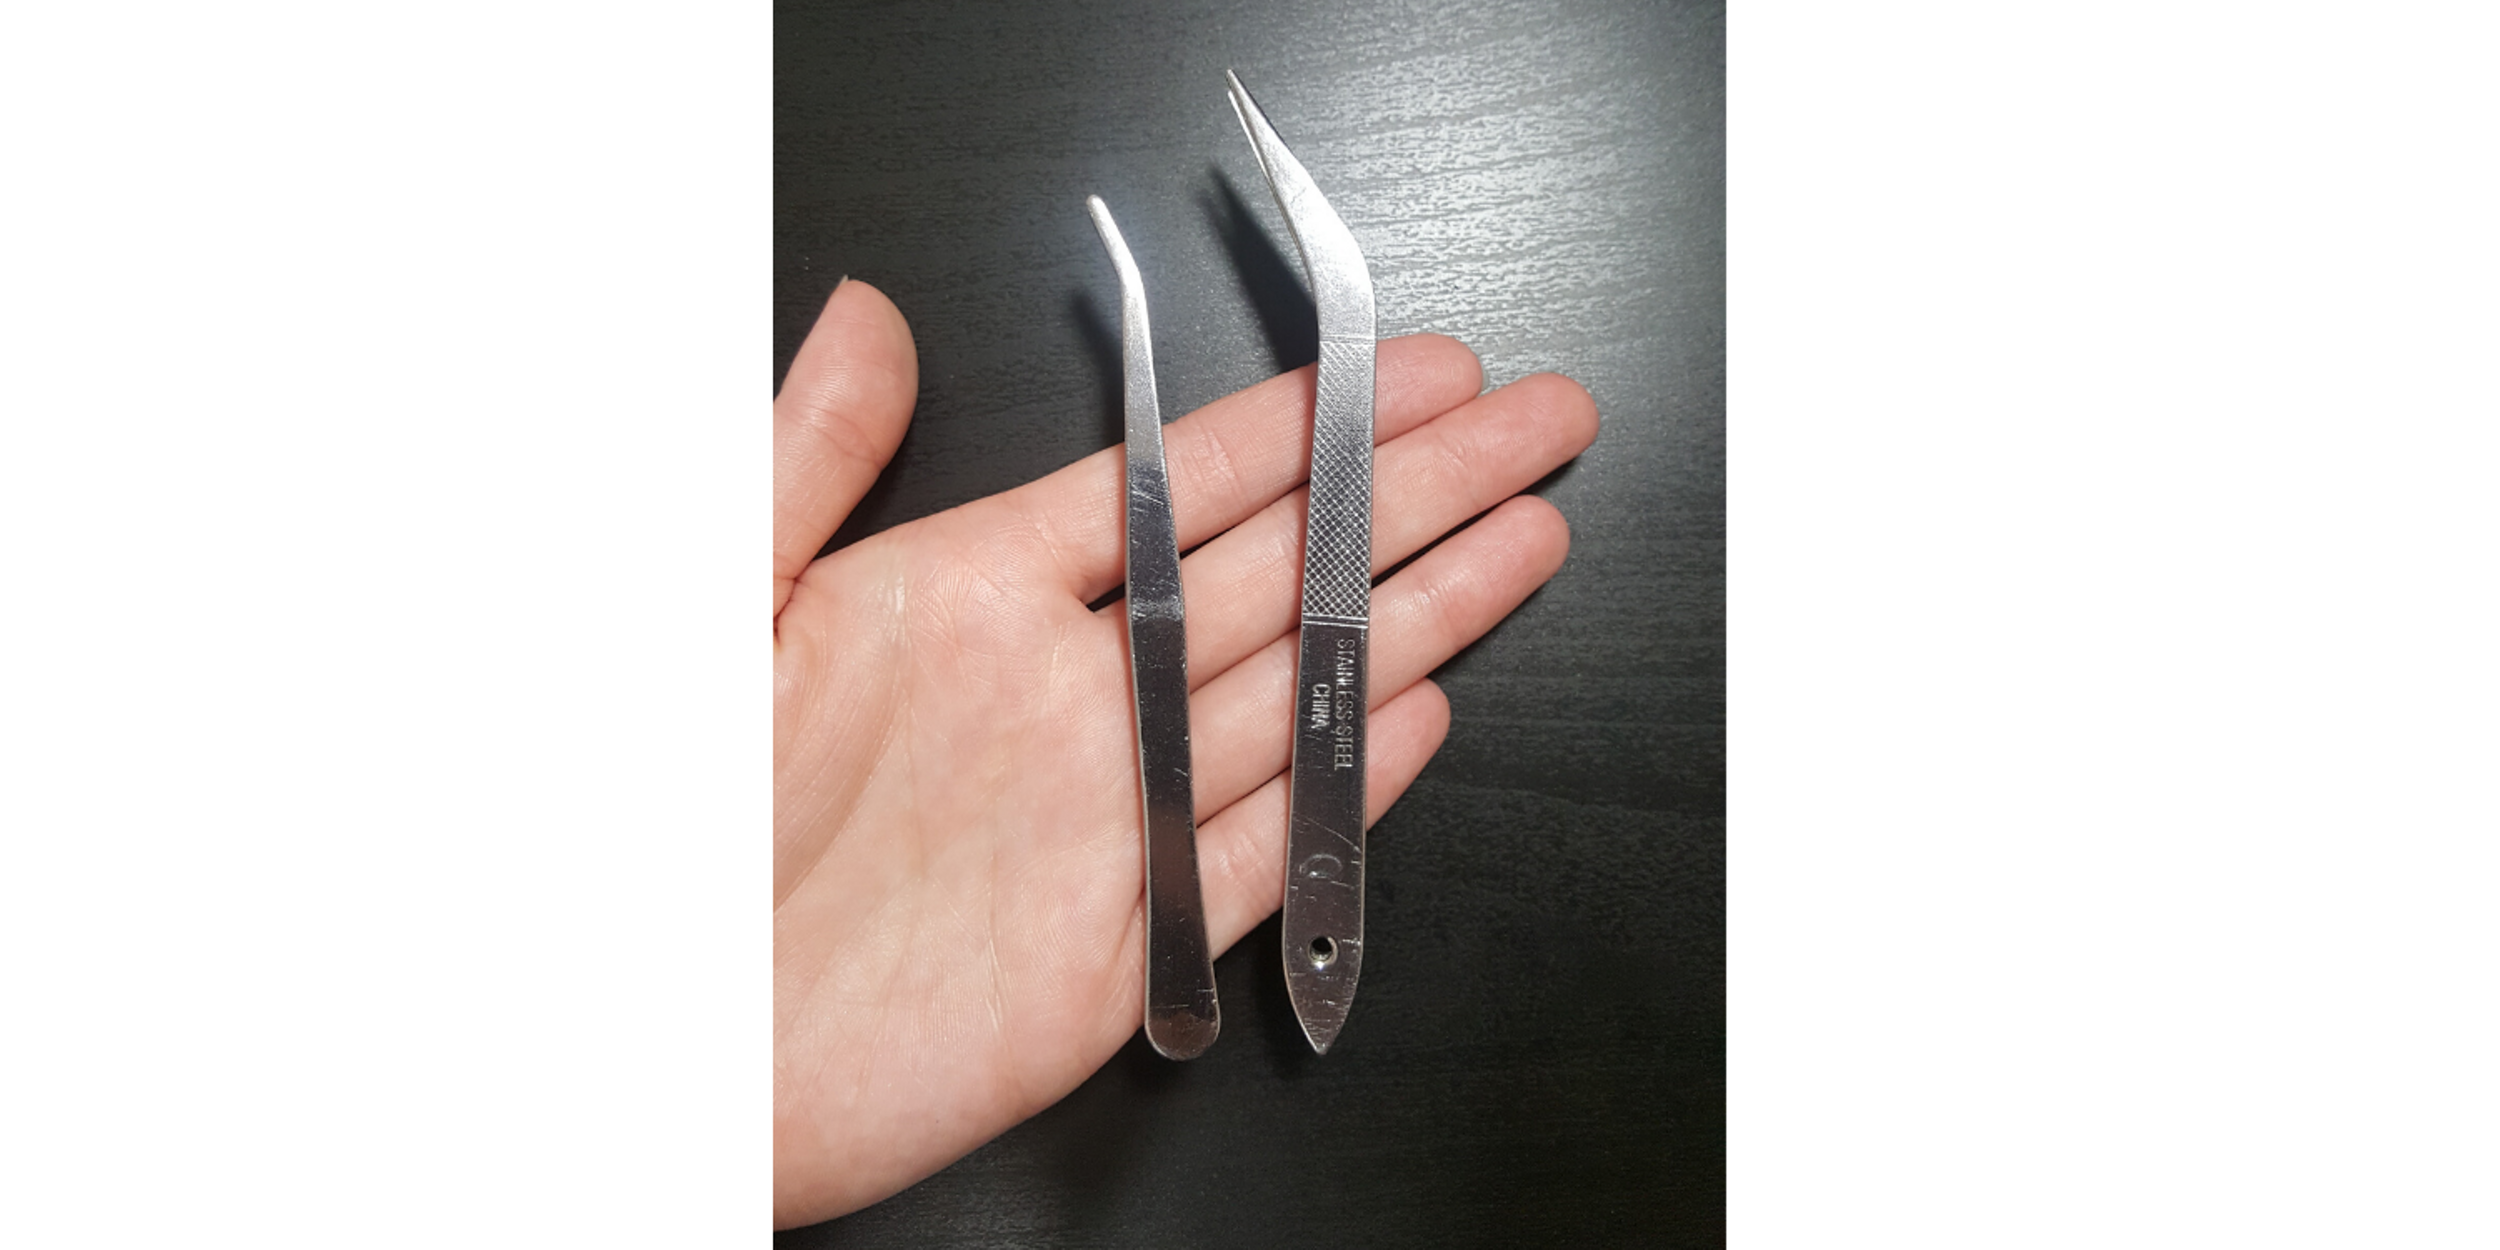
The ones that came with my machine are on the left, and the ones that I recommend are on the right. You can see there’s a pretty big difference in the shape—the tweezers I prefer have a much bigger hook shape on the end, and are much pointier than the others. I think this makes them a lot easier to use and to get to hard-to-reach-areas while threading your machine (or cleaning stuff out of the machine, if the compressed air isn’t enough). 

Patternmaking Tools

Most of the time a 60″ measuring tape will do, but there are definitely times when it’s not long enough! I especially recommend longer measuring tapes to dancers who, unlike me, have a long torso. Of course, there are lots of other instances when a long measuring tape can be handy, and they’re nice to have around. 

If you’re going to buy just one measuring tape, a 120″ one would be your safest bet. However, I like to have both. Most of the time 60″ is long enough, and I don’t want the extra length to have to roll up and put away. I have several 60″ measuring tapes . . . I like to buy them in fun, happy colors, hahaha.

Here’s another quick option if you know you’d like both lengths!

If you don’t already have a meter stick with both centimeters and inches, this is a good one. I use both centimeters and inches in sewing, and especially patternmaking, all the time (the metric system is so much better and mathematically easier to use, but I’m used to inches too, so . . . ) 

Also, this doesn’t really matter, but this meter stick has a little bit of a shimmer to it that I like, haha. It also has a hole in one side so you could hang it on a nail on the wall if you want. 

This ruler is so essential to me. I actually have two. Clear grid rulers make it so much easier to get nice parallel lines when you need them. What I use this ruler for most often is making a 1/4″ seam allowance on my patterns. It saves so much time. 

This is pretty much the same deal as the long and short measuring tapes—if you only want one, get the meter stick. However, lots of lines you need to draw do not need to be that long, and having a shorter ruler is much less cumbersome. Any simple ruler will do as long as it has centimeters and inches, but I like that this one is clear too.  

It was really hard to find just the curved ruler I was looking for (the one in the bottom right of this image) that was a good price. The best deal I found included all these extra rulers too, haha. Whatever.

A curved ruler isn’t essential to have, but it’s definitely nice. I use it for help getting a smooth neckline curve or other curves in a new leotard design. It doesn’t always have quite the curve you’re looking for, but when it does it’s super handy not to have to freehand it. 

I highly recommend medical paper for anyone who plans on making lots of patterns. You don’t necessarily need a 12 pack, but of course you get a better deal buying it in bulk, and for me, it’s worth it. I won’t have to buy more for a good long time.

Medical paper is great for patternmaking because it’s long, so you don’t have to tape a bunch of paper together, and it’s transparent enough to see through so you can trace when needed. I love this stuff.

Sewing Tools

My fabric weights are the pink onesI call them my heavy pink marshmallows, haha. I think they’re cute and they make me happy. I bought two sets and I use them allll the time. I use them for holding pattern pieces down while I trace them, and to hold pattern pieces still on my fabric while I cut out (I use them instead of pins). It’s super nice to not have to worry that your patterns are slipping around and messing up your precision while you try to trace or cut them, haha. 

I love my rotary mat. It’s another thing I use all the time. It’s great for measuring as well as cutting stuff out. 

Note: This mat doesn’t like heat! Sadly, I learned that the hard way, haha. I put my warm laptop on it for a little bit and it warped it. It still works, but it’s annoying. So if you get this, don’t put your irons or laptops or anything warm on top of it, haha. Too bad I didn’t read the warning in the corner beforehand. . . 😜

If you’re going the weights-and-rotary-mat route, you’ll definitely want a rotary cutter. I have a Fiskars one like this and a Gingher one. They’re both great, though the Fiskars one is cheaper. I do have to tighten it often, though, and I don’t think that happens as much with the Gingher rotary cutter. Either way, they both work very well and definitely make my life easier.

If you’re not interested in cutting out patterns and fabrics with weights and a rotary cutter, scissors and pins definitely work! I think you have to be a little more careful not to move your pattern around too much while cutting if you use scissors, though. In any case, Gingher scissors are reliable, high-quality scissors. I have two pairs and love them.

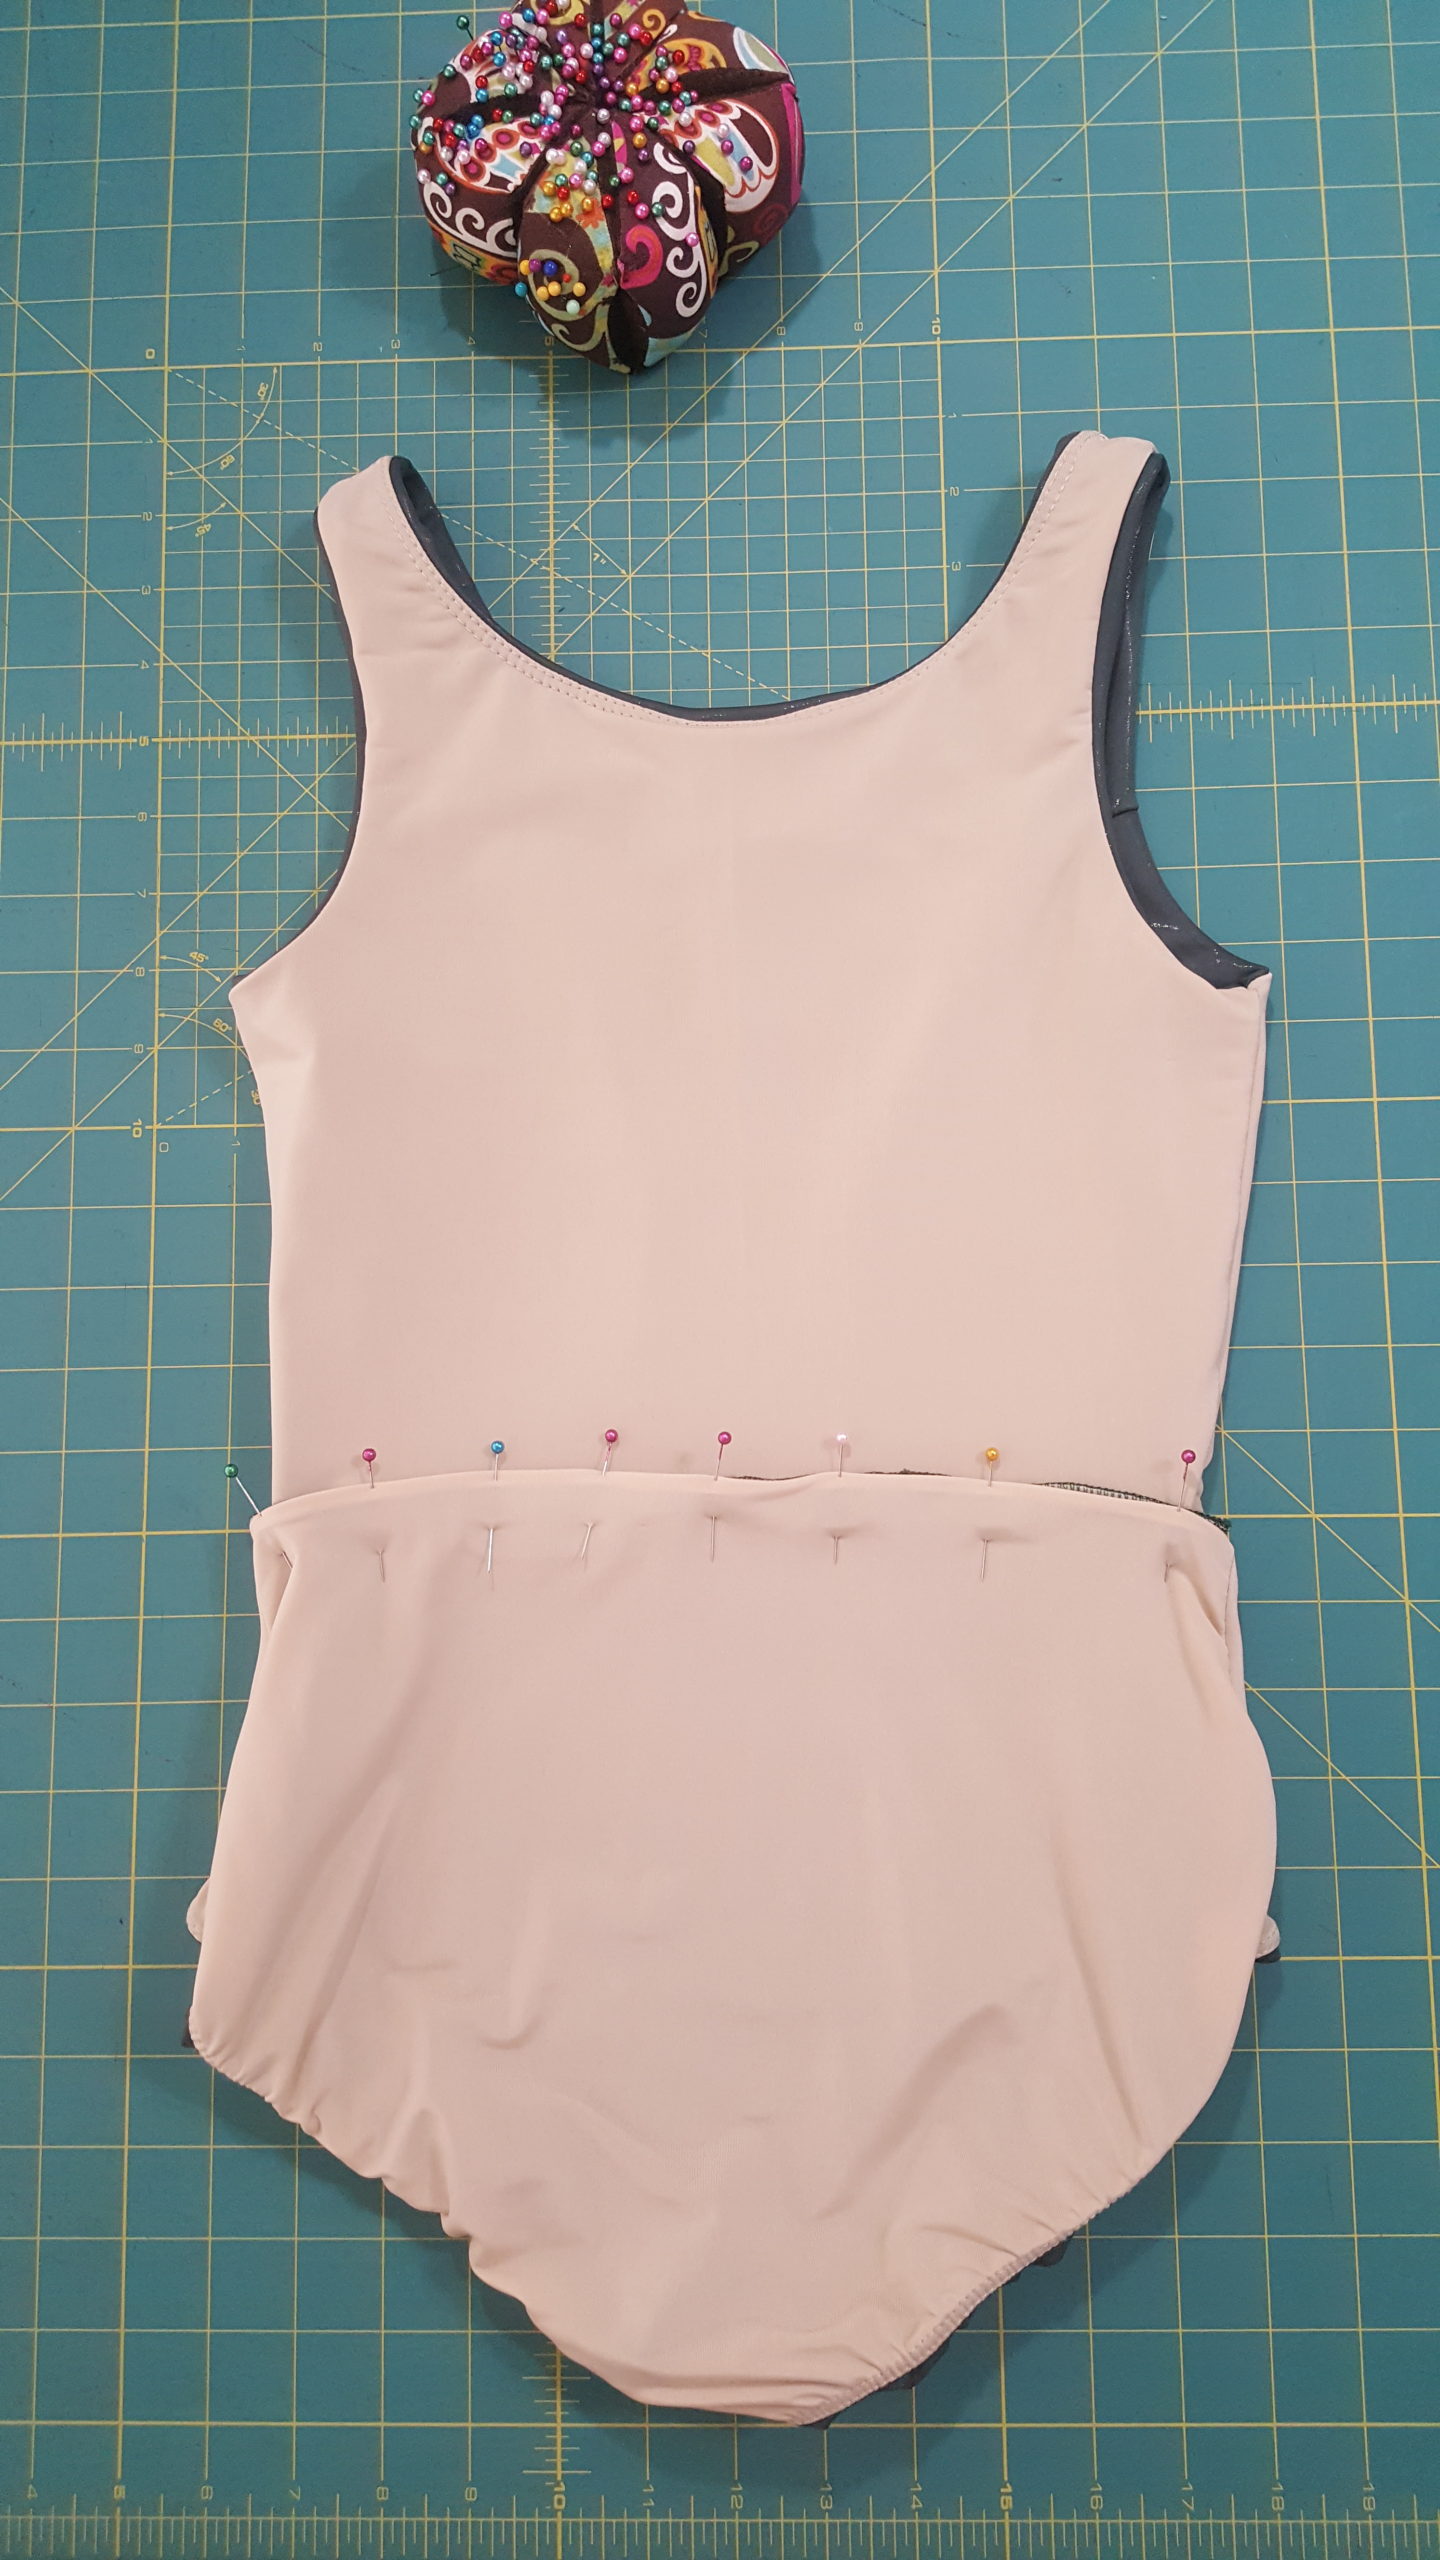
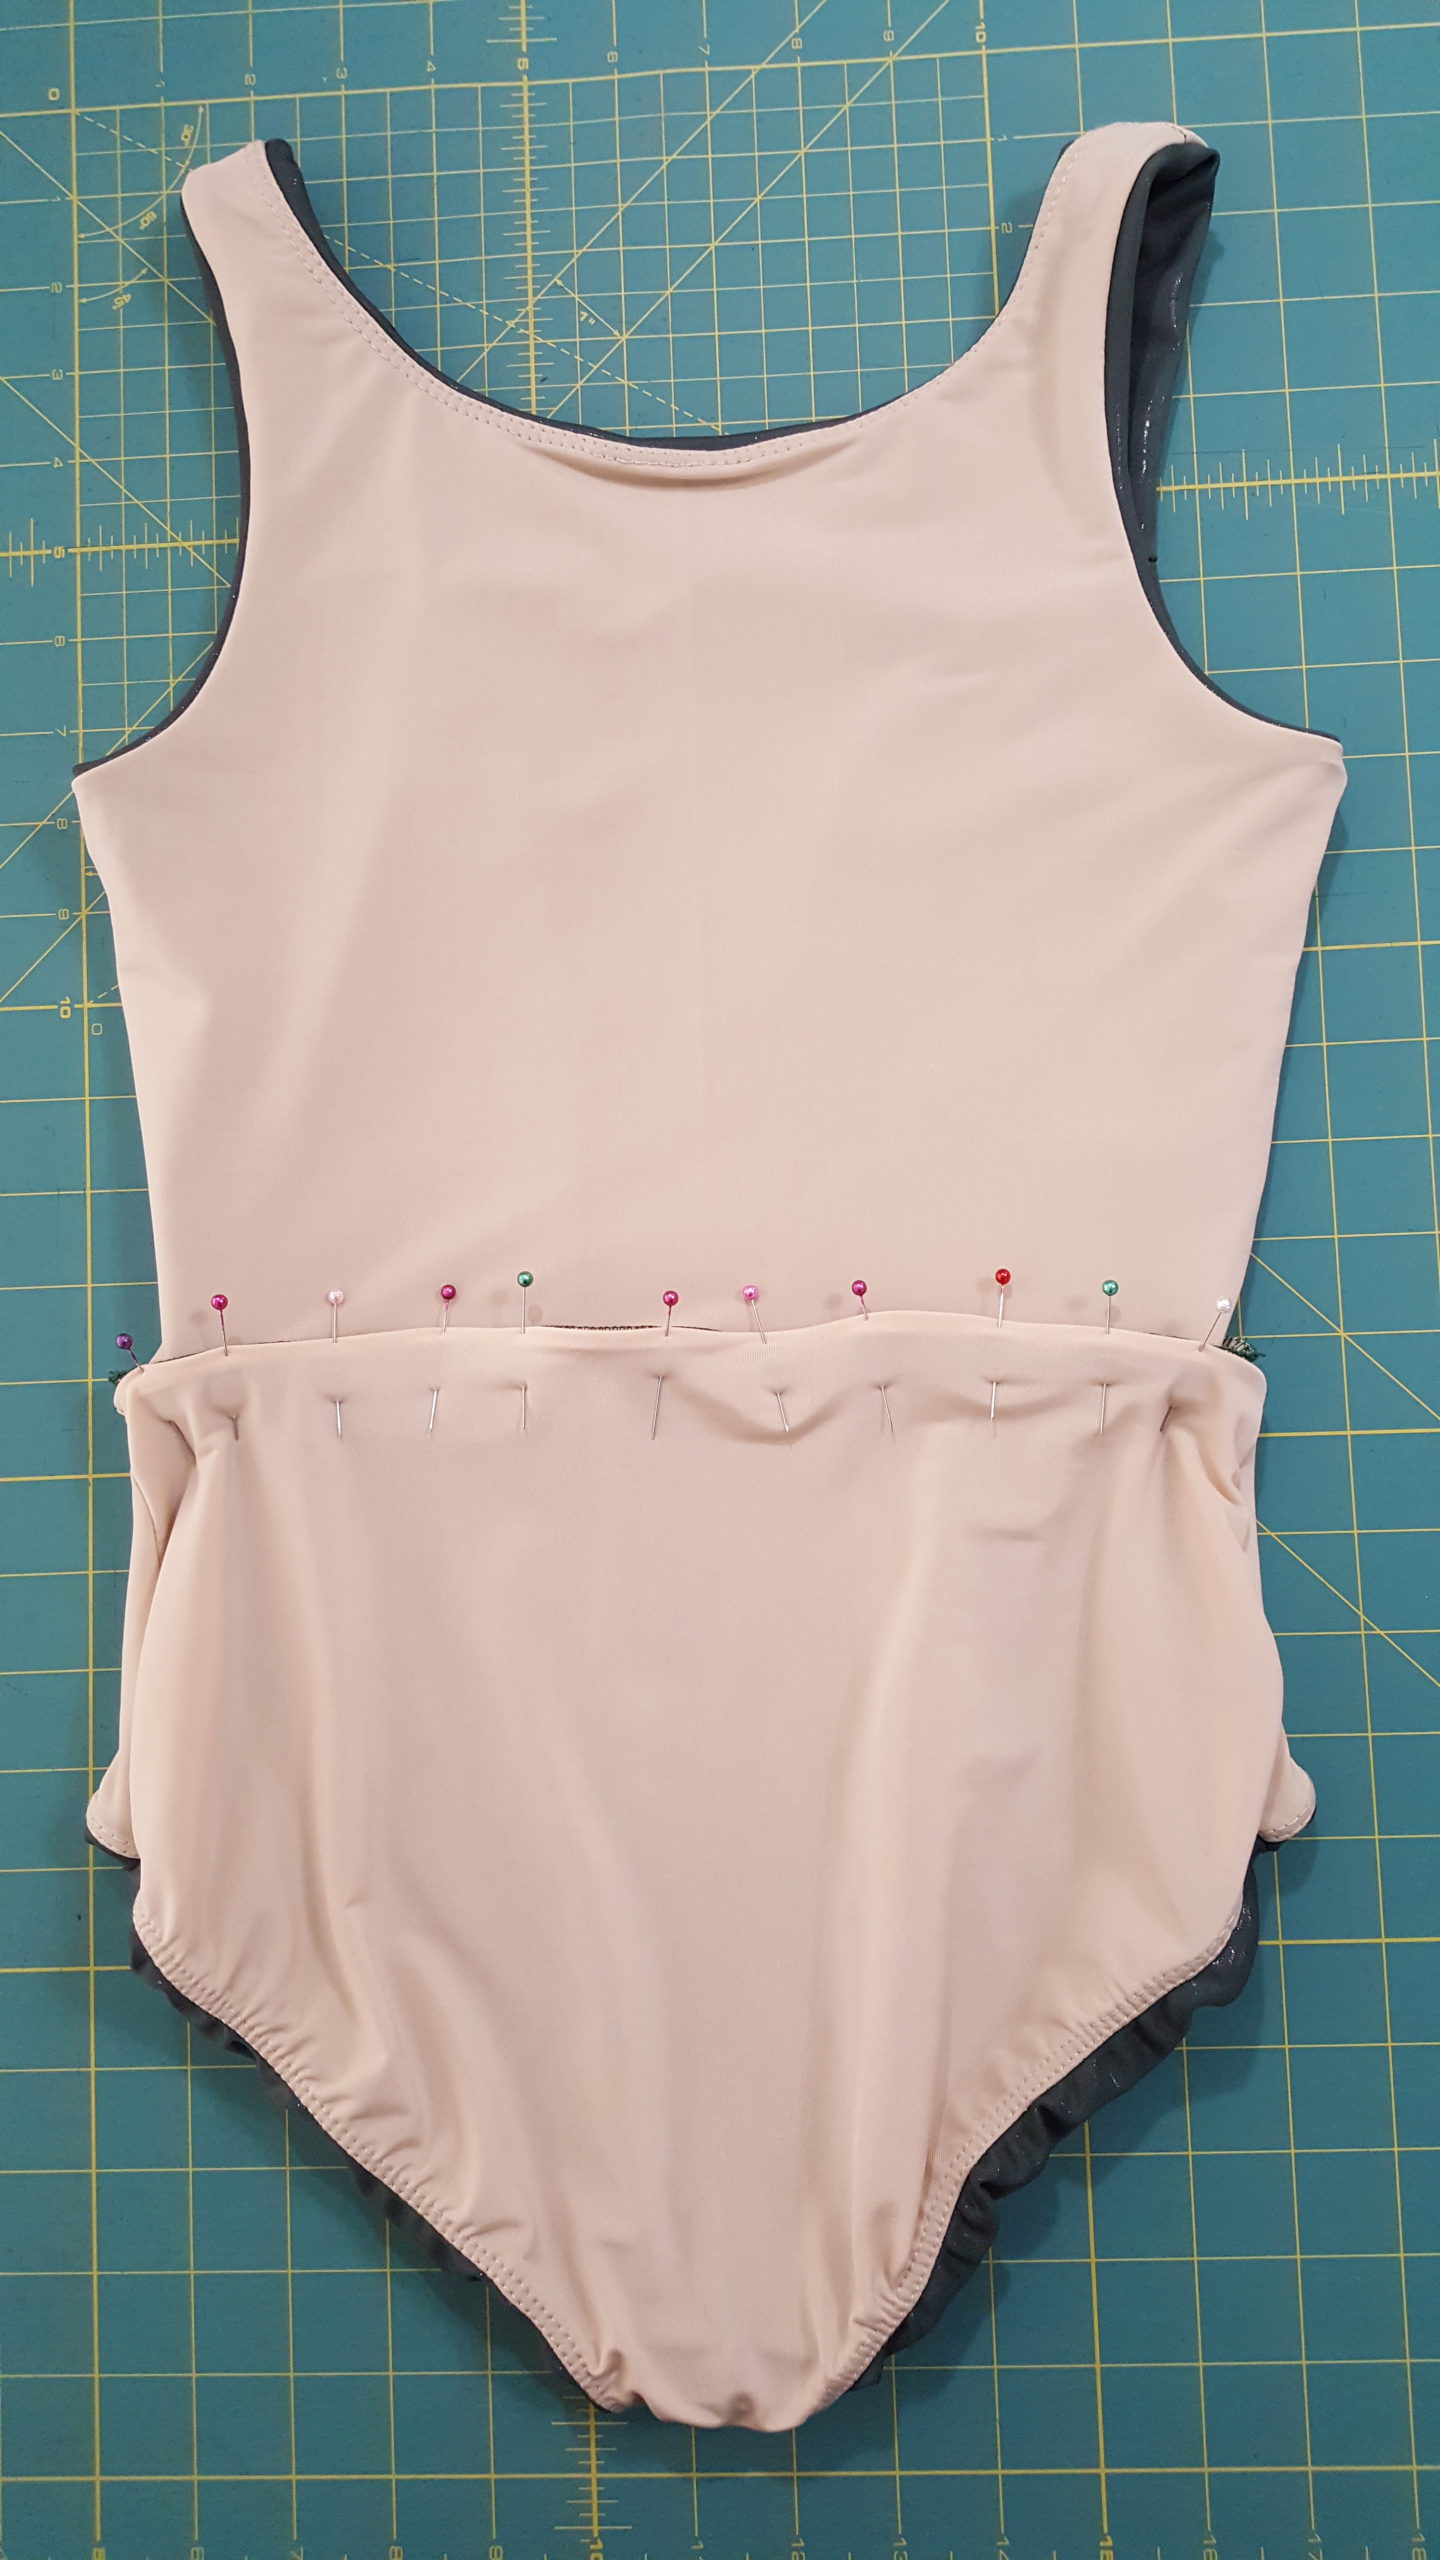
I like colorful, happy pins, haha. They cheer me up. You can get pins in lots of different colors, of course, so get them in a color that makes you happy. 😉

These days I don’t use nearly as many pins as I used to while sewing, but they’re still an essential thing to have around, especially for matching up crucial areas of seams or matching unlike curves like princess seams. 

Leotard Fabrics and Notions

You’ll see more information and recommendations in my DIY Athletic Leotard Course, but I generally recommend the lycras in the performance section of JoAnn’s (assuming you have access to a JoAnn’s). Look for fabric that is about 80-90% polyester or nylon, and 10-20% spandex. For your outside fabric, you want 4-way stretch fabric (2-way stretch is not good enough!!), and you want it to be as stretchy as or stretchier than your lining.

Especially if you’re making your first couple leotards, I’d recommend staying away from sparkly or patterned fabrics. To make it as easy as possible, I’d stick with solid colors you like. If you’re using multiple solid colors, your safest bet is to make sure they’re all the same fabric except for the color. If you use several different types of stretchy fabrics, you might get some unexpected surprises in the ways they behave all together, haha. Keep it simple. 😉


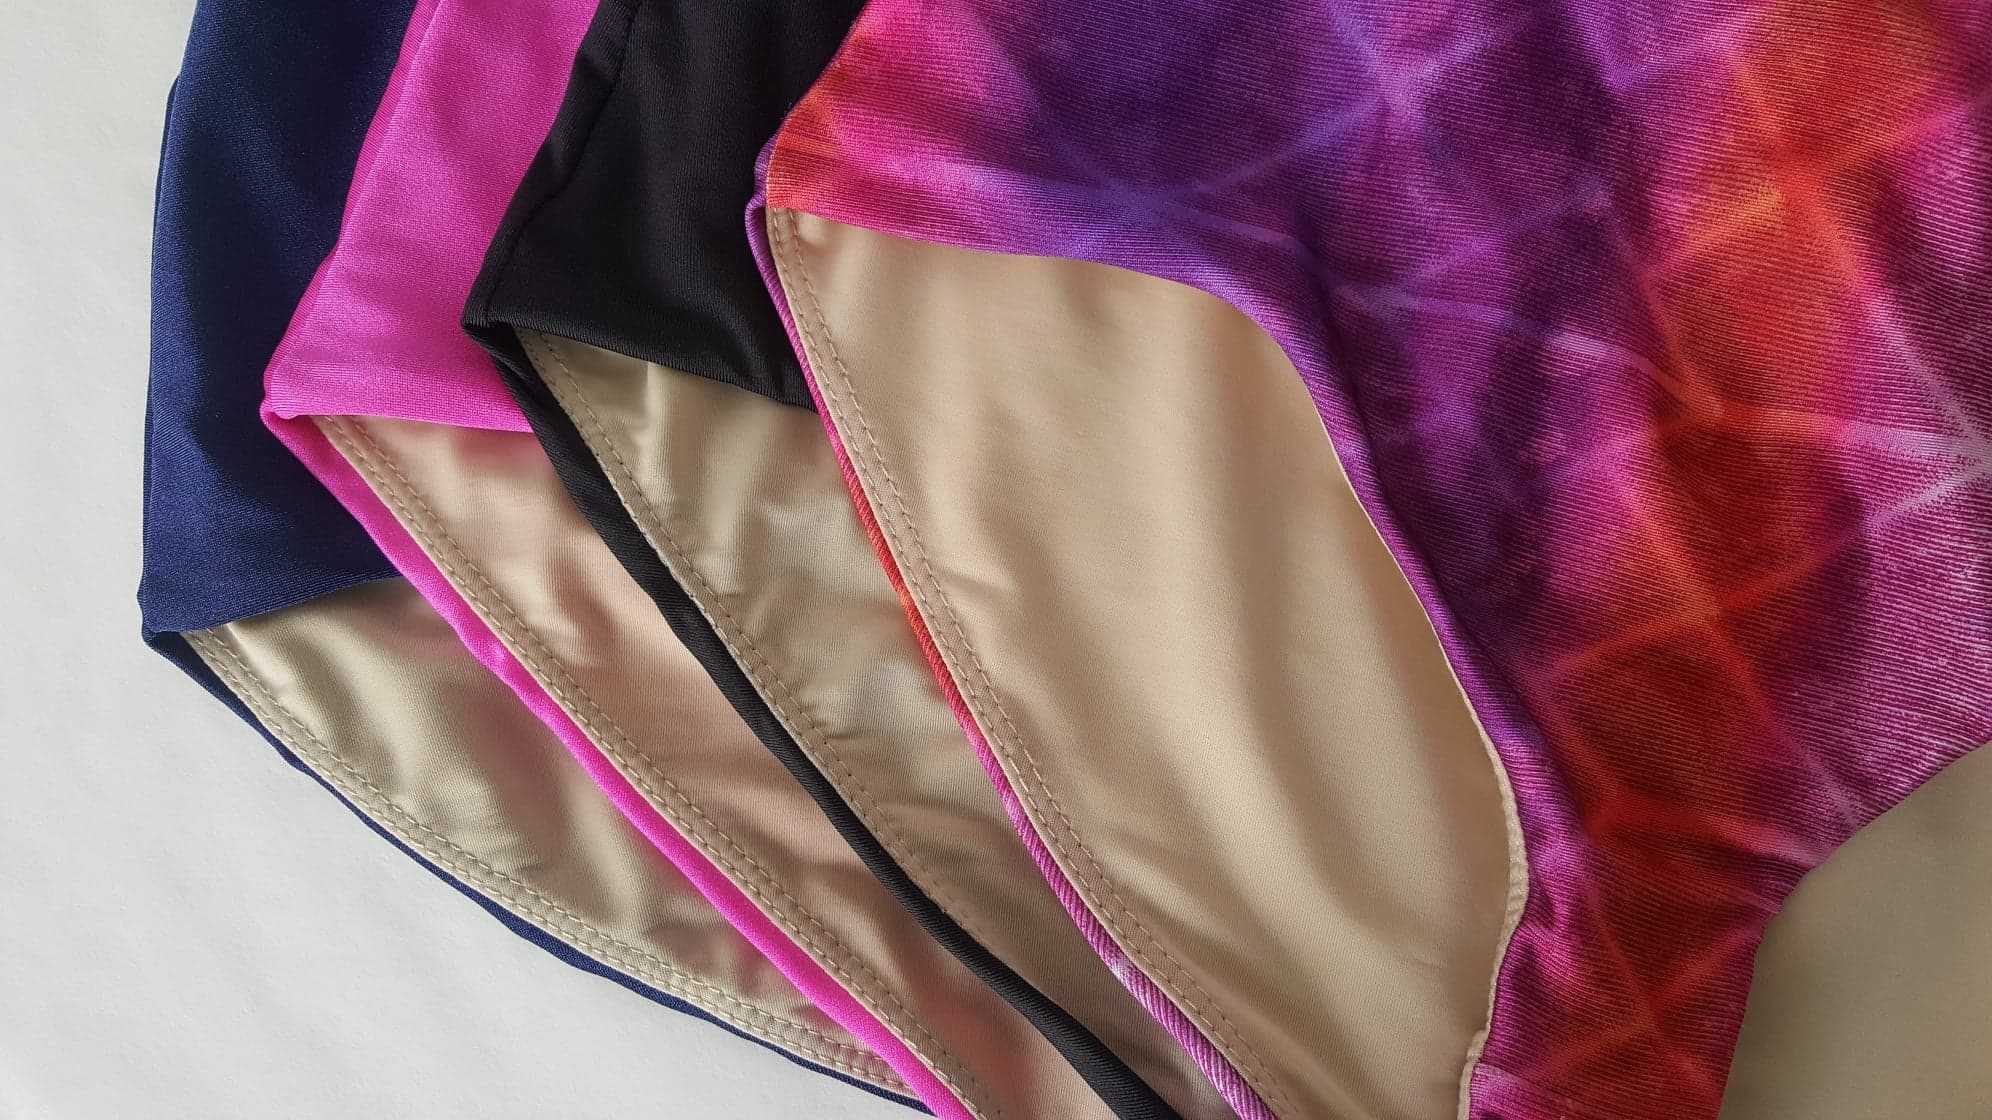
I recommend using JoAnn’s stretchy lining as sort of a constant so that you know how it behaves and you’ll only have to compare the outside fabric to it with each new leotard. 

JoAnn’s has lining in white, black, and “nude” (caucasian nude, no other shades so far, unfortunately).  

This pack of 1/4″ elastic will most likely be enough for one leotard. You can also buy it in bulk to save money! 

As a side note, I wouldn’t go thinner than 1/4″, because thinner elastic probably won’t be strong enough. I also wouldn’t go any thicker, because it probably would be uncomfortable and it might look funny! Haha. 1/4″ is a great size for leotard necklines and legholes. 

If you’re using sergers and coverstitch machines like me, you’ll definitely need overlock thread. JoAnn’s has a pretty good selection of basic colors, and because you rarely see the thread on a Tia’s Leos leotard, a close color is good enough. 

For your coverstitch machine, you’ll want 3 spools of thread that matches your lining. For your serger, you’ll need 4 spools that match your outside fabric. 

Maxi-Lock Stretch Thread is fancy and nice, but not essential. It’s soft and fuzzy, and will make your serged seams softer as a result. You’d want to use them in the lower looper threads of your serger. I would recommend this for people with sensitive skin, if the one seam across the torso is irritating. Or, if you just want to pamper yourself with soft seams because you’re worth it, go for it!! Haha.

Do be aware that they are a little trickier to thread, since they’re slightly thicker and fuzzier, and you may find that they behave a little differently. But they’re great once you get used to them. 


That’s it for now! I imagine that as time goes on I’ll find more awesome sewing tools, and I’ll be sure to add them to this list! I hope this was helpful. Feel free to send these links to family members and friends as part of your wish lists! 😉

And don’t forget that the best way to see these tools in action is the DIY Athletic Leotard Course. If you haven’t signed up yet, you can do that right here, right now, for free! 

Get Free Access to the DIY Athletic Leotard Course!

Trial and Error in Designing Leotards

Trial and Error in Designing Leotards

Today I’m going to walk you through my process of designing, sewing, evaluating and fixing a new leotard. I decided that I needed a sleeveless leotard design, because while I’m sure there are many like me who want more leotards with sleeves, especially cap sleeves (not boxy, straight across the bottom sleeves or long sleeves, but nice-looking short sleeves, please!), I’m also sure there are many dancers who are more warm-blooded than me and just don’t want any sleeves in the way or adding an extra layer of warmth!

So here we go.

Making the Leotard

For this leotard I wanted a fairly basic pattern that still has a couple of nice but subtle design features. This leotard has a seam at the waist, princess seams on the top front, and a little bit of a v-neck. 

Last time I went fabric shopping at JoAnn’s (I’m so lucky to have one so close to home!), I found this new performance fabric with the weirdest/coolest shine to it . . . it almost looks wet. I couldn’t help but try it out, so I got this dark green color.

Last time I wished I’d taken more pictures of the process, so I did that this time. Here I’ve got the princess seams sewn on the outside front piece, and the shoulders sewn together on both the outside and the lining. I love being able to throw more seams on the outside while keeping one smooth, solid piece on the inside. That way I get the design features I want without sacrificing comfort!

Next I sewed the neckline of the outside and lining pieces together. Because it’s a v-neck, I clip the corner about 1/4″ to make it easier to sew it and to keep the shape.

Then I added the elastic to the lining . . .

. . . and I apparently didn’t take any pictures of sewing the armholes or side seams. But that happened! Haha. Then I sewed up the bottom! Voila, top half finished.

The process for the bottom half is quite similar. I sewed the crotch seam of the outside and lining pieces, then sewed the outside and lining pieces together at the legholes. 

Then I added elastic to the legholes, and once again didn’t take pictures of sewing up the side seams . . . huh. But, once again, that happened! Ha. And then I sewed up the top. 

Then I sewed the top to the bottom, and tried it on! 

That, of course, was oversimplified, but this post isn’t meant to be a tutorial. It’s more for giving you a general idea of the process. However, let me know—would you like to buy a course to teach you (in much more detail) how to make a leotard like this?

Evaluating the Leotard

Alright, so I finished the leotard and tried it on, and was . . . disappointed!! Hahaha.

It wasn’t terrible or anything, but I do tend to be a bit of a perfectionist, and it wasn’t quite what I was going for. But here’s the thing—it’s totally okay to make a leotard and find that it’s not exactly what you wanted. It’s all part of the process and you can always learn from it. And truthfully, it’s still a pretty functional leotard, with just a couple tweaks. 

Problem #1: The Straps

The straps on this leotard came in far enough from the shoulders that they didn’t cover my bra or tights straps (I like full body tights with straps because they don’t dig into my waist). I’m sure this wouldn’t bother many dancers, but for me I wanted a nice clean look that doesn’t require me to tuck my straps in unnaturally to hide them.

I can’t fix that with this leotard, but the next time I make a leotard pattern I can just bring the straps out further and widen the neckline. No big deal! 

Problem #2: The Waistline Seam

Again, not the worst problem in the world, but for some reason this fabric behaved oddly on the seamline. The waist seam just really wanted to stick out funny on the back. I still don’t know why!

But, you’ve got to expect that when you try out a new fabric, some unexpected things might happen. If I use this type of fabric for a leotard again, I’ll probably try having a seam under the bust instead of on the waist. It might be a problem there too, but I think it might hide better there.

Problem #3: The Leghole Elastic

So the biggest problem by far with this leotard was that the elastic on the legholes was popping out on the bottom and showing the lining. That was especially disappointing because I’ve worked so hard to design my leotard patterns so that won’t happen.

However—as I explain in my free DIY Athletic Leotard Course—you have to make sure that your outside fabric is as stretchy or stretchier than the lining fabric!! Guess who forgot to follow her own advice with this new shiny fabric?

Ya it was me.

I saw the shiny fabric and went, “MINE,” before really thinking about it. Haha. It seems that it’s a bit less stretchy than the lining, and that created this annoying issue.

The good news is that problem #3, the biggest problem, is also the one that was easiest to fix on this leotard. So I didn’t have to start over and make a new one! This might be helpful to you in case you ever have the same issue!

Fixing the Leotard

The legholes were just fine in the front, the problem was only in the back. So I turned the leotard inside-out, flipped it to the back, and pulled the lining up just enough to match a fold to the waist seam. You can see when I fold it down that the lining is not sticking up past the seam.

I also didn’t do this all the way to the side seams—my side seams already matched up nicely and I didn’t want to mess with that, so I just tapered the new serge on and off a little ways away from the side seams.

Guess what? The elastic was still popping out. 

So I did it again!! And serging the fold of lining onto the seam the first time made it really thick, so this time I shaved off most or all of the previous seam to make it less bulky. I was also hoping that this would help problem #2 by taking away a little of the excess fabric on the back and making it lay smoother. I think it did help a bit.

It was better this time, but I still couldn’t trust the elastic to stay put, so I did this process a THIRD time, which is kinda crazy. But good news, it worked!! (I didn’t take pictures this time because I didn’t think you needed a third set of pictures of exactly the same thing, haha). 

So now, thankfully, my leotard is functional, the biggest problem is fixed and I can wear this leotard. Yay! And I can still modify my pattern in the future to have a better version of this leotard.

I took these pictures to show you what the waist seam looked like on the inside after pulling it up 3 times. On the back next to the side seam, it’s not super pretty. But I can’t feel it when I wear it, and you can’t see it at all from the outside. That’s one of the great things about stretch fabrics—they’re much more forgiving, so you can pull off little fixes like this.

t’s maybe not ideal to have a seam look like this on the inside—I wouldn’t sell this or anything. But for a leotard I made for myself, I’m pretty happy with it, especially since at first it wasn’t a functional leotard with that elastic sticking out, and now it is! I’m glad I can still wear it.

If I were to use this fabric for another leotard, I would want to account for the stretch and modify the lining pattern for the bottom back piece to be shorter, so it has to stretch more and will be tighter than the outside, pulling the elastic securely to the inside.

With this post I wanted to show you that it’s okay to make mistakes while designing leotards. You’ll never design something awesome if you’re not willing to make some mistakes to get there. And, like I’ve shown you, not all mistakes mean the leotard isn’t wearable. Sometimes you can find a quick fix rather than making another leotard from scratch. 😊

Alright, that’s all for now—if you haven’t yet, I hope you’ll consider making leotards with me! You can start for free by signing up for my DIY Athletic Leotard Course! I’ll show you how to get through the trial and error process of making your own custom leotard pattern using your body measurements. In this case we’ll make all the corrections BEFORE cutting out and sewing your leotard, haha! 

Get Free Access to the DIY Athletic Leotard Course!

Princesses, Peasants, & Leotards

Princesses, Peasants, & Leotards

Secretly, I’ve been thinking about doing this for a long time—making princess-inspired leotards. 😊 I’ve drawn lots of princess leotard designs, but this is my first time actually sewing one!

I thought Halloween was a good time for it. I won’t actually be wearing this leotard today—I’m wearing my Supergirl costume! That one is more of a full-on costume that I probably wouldn’t want to wear to a dance class (ugh, dancing with a big pleather cape, haha), but is great to wear once a year to Halloween events. This leotard is the opposite—it’s super comfy, easy to move in, and totally practical for wearing to a dance rehearsal, on Halloween or any other day of the year!

Anyway, you might notice that this leotard looks more peasant-y than princess-y. It is! But it was inspired by a certain Briar Rose, a peasant girl who is unknowingly a princess, and who looks every bit as beautiful, graceful, and princess-y in her simple peasant dress. 

I actually made a pattern for a princess leotard to go with the peasant leotard, but JoAnn’s didn’t have the fabric I needed for it! (I’ve used up too much of my bright pink lycra, haha!! 😆 It’s so fun.) So, the princess leotard very well may be a part two for this blog post. 😁

Here are a few pictures from the process of making this peasant leotard!

First, the pattern. The peasant pattern is on the left, and just for fun I’m showing you my princess pattern, on the right, even though I haven’t sewn it up yet. Of course these are just the outside pieces. There are also lining pieces, which are the same overall shape but not as many pieces. There’s no reason for all those seams on the inside.  

I was so excited to make the peasant leotard—I just think the shape, especially of the corset part, is so pretty. So, even though I didn’t have all the fabric I needed, I took scraps and hoped to make it work, haha! That meant no sleeves, and the shirt part on top had a middle seam, which is not great for the look or the logistics of sewing it together, haha.

It was a good trial run, though, and it helped me figure out what I needed to do to make it work for the real thing, haha. I normally don’t work with such interesting acute angles and whatnot, especially in the center of the pattern, without a seam, and with stretch fabrics. That was interesting. 

I finally went and bought new fabric, cut out the pieces again (the right way, haha), and started again. 

It was very helpful to not have a seam in the middle to try to match up exactly to the point, haha. I also did some reinforcement stitching on those three points on top so I could safely clip to the corner and pull the funky shapes around to match each other. I probably should have taken pictures of these details in the process. I’ll think about that next time. 


Oh! Another detail I should definitely mention—sewing these angles nicely with a serger was NOT going to happen, haha! So for this seam, even though it takes longer, I used my normal sewing machine and a triple straight stretch stitch (say that ten times fast. Even if you say it right it still feels wrong, hahaha 😜). I think for every other seam I used a serger.

Most of the rest of the process was very much the same as my usual process that I use in my DIY Athletic Leotard Course. The bottom V point of the corset was a little interesting as well, but not bad, and it worked out just fine with a serger. I was glad I didn’t have to use the triple straight stretch stitch for that (just needed another excuse to make you try to say that, haha 😄).

Aurora top finished

I didn’t even take any pictures of making the bottom, because it was the same as usual, haha. And I was too anxious to finish to stop! So the next picture is one of the finished product, in the woods, where the person wearing it might hang out with animal friends and tell them about her dreams of a handsome prince. 😉❤️️

There are so many fun things you can do with leotards. And they can be COMFY!! That’s one of the best parts. If you want to learn to make your own leotards, sign up for my free DIY Athletic Leotard Course! It’s a 3-day course (but you can take it as fast or slow as you want) with in-depth, step-by-step videos and written instructions to help you feel confident that you’re doing it right and will get a great result. 😊

Thanks for reading, and watch out for part two, with the princess leotard!

Get Free Access to the DIY Athletic Leotard Course!

Superheroes Wear Leotards!

Superheroes Wear Leotards!

Today’s post is pretty much just about me having fun making a Supergirl leotard. 😁 

Once upon a time I daydreamed about what kind of Halloween costume I might be able to make involving a leotard. I came up with several options (more on that in later posts), but ultimately I decided to start with Supergirl, since I already conveniently had red leather boots. Thank you, BYU Folk Dance! 😊 

These pictures are from a couple of years ago, and I didn’t take photos of the whole process, but here are some of the highlights. This was before I came up with the methods I use for my Tia’s Leos leotards. That means this leotard isn’t as comfy, but this one was expensive enough without a lining, and it really was more about the look than the comfort, since I’d only wear it up to one day a year most likely, haha.

This picture is of all the pieces after I had drafted the pattern and cut out the fabric. Secret: for this pattern, I put on a leotard prototype that I didn’t care about, and I literally took a sharpie to it while wearing it to decide where exactly I wanted the seams and the Supergirl logo. Haha! I’m glad I did, too, because as I said, this leotard was expensive and I didn’t want to risk making a permanent mistake on that fabric. 😆

As you can see, the logo started out as two solid pieces of red and gold fabric. I transferred the pattern onto the red fabric, then carefully cut out parts of the fabric and folded them under to create the design. I held them in place with Dritz Wash Away Wonder Tape, and then zig-zag stitched it onto the leotard.

I used my coverstitch machine to topstitch the red on the blue over the seams. It was pretty fun to use an accent color to call attention to the seams, I don’t often do that. I thought the sleeves were especially fun.

I sewed the skirt directly onto the leotard since it was a funky shape, with that V in the front, and I wanted it to sit in just the right spot and not slide up to my waist. 

The fabric I used for the cape was some kind of thick pleather, and that sucked to sew through. 😆 It also was a beige color on the back side, so I had to sew a layer of red fabric onto it. I think I destroyed at least one needle attempting to sew through it, haha. It is far from the type of fabric I usually like to work with, haha! And it was okay for one costume, but I would not be a happy sewist if I had to work with that nonsense all the time. 

(In case you didn’t know, I love stretch fabrics!! 😉)

I sewed a couple buttons onto the inside of my leotard, and cut button holes into the top of the cape, and I button my cape on after putting the leotard on.

Anyway, last year we only got a couple trick-or-treaters, and they came before I put my costume on and curled my hair (which I only do like 2 or 3 times a year, tops 😆). So my husband helped me make it worth it by helping me find a grungy, city-ish looking wall in town and taking my picture. I need to work on building up the bulky superhero muscle, haha. But dancers are definitely superheroes in their own, lean-muscle way, right? 😊

Thanks for reading about my Supergirl leotard fun! If you want to make leotards with me, you can sign up for my free DIY Athletic Leotard course below! 😃

Get Free Access to the DIY Athletic Leotard Course!

How to Make a Basic Leotard Pattern

How to Make a Basic Leotard Pattern

What is a basic leotard pattern?

A basic leotard pattern is not one that you actually cut out of fabric and sew into a leotard. It’s solely a paper pattern, and it goes all the way up to your neck in front and back, and it has sleeves. The important thing about this pattern is that it is custom-made with your body measurements, and with it you can design any leotard you like, knowing it will fit you just right. 

Why a basic leotard pattern?

If you’re going to go to the trouble to make your own leotard, you want it to fit well, right? Having a custom fit that is comfy and secure for your body specifically is one of the big perks of making your own dancewear. 

And the great thing is, unless your body measurements dramatically change (hey, you might wanna make a pregnancy leotard too), you only have to take your measurements and make your basic leotard pattern once. After that, you literally get to quickly trace it and start the fun part of designing your next leotard. 

Because you’ll keep your basic leotard pattern and trace it over and over, I recommend making it on thick poster paper so that it is durable and has a nice crisp edge that you can easily trace. 

It’s so worth it to take the time to get really accurate measurements and make this pattern for your body. It will save you so much time and will give you better results with every leotard you make from here on out!

I’ll explain more below, but here’s a time-lapse of this process because a visual will probably be helpful!

Take measurements

So the first thing we do is take our body measurements, and there are ten: Neck, Bust, Waist, Hips, Front Width, Shoulder Width, Back Length, Side Seam, Upper Arm, and Girth.

I can tell you right now that there are four measurements that people often get wrong the first time: the Front Width and Shoulder Width, and the Back Length and Side Seam. These measurements are super important because they help you get the proportions of your leotard pattern right so that your leotard will, in fact, fit your body. 

Don’t worry—in the DIY Athletic Leotard Course I give you tips for taking accurate measurements, and I also show you ways to make sure your proportions are correct and troubleshoot if they’re not.

Enter the measurements into your spreadsheet

Inside the DIY Athletic Leotard Course I give you a spreadsheet to put all your measurements into. You can decide whether to measure in inches or centimeters. 

The spreadsheet will automatically convert your measurements to centimeters, if they aren’t already, then take the right percentage of each measurement to account for the stretch of the fabric, then take the right fraction of each measurement depending on how you will use it to draft your pattern.  

If that sounds complicated, no worries—all you need to do is take good measurements, and then the spreadsheet will do all the math for you. 😊 

Make a leotard outline

Once we’ve got all our measurements, we start using them to draft our pattern! At this point we will ignore all the measurements on the left side of the spreadsheet, and only pay attention to the ones in the column on the right labeled “To Use For Pattern.” 

We start with half the Girth measurement to mark where the crotch is. Next we use Back Length to mark the waistline, Side Seam to mark the bustline, and Hipline 1 (a measurement the spreadsheet calculates for you) to mark the Hips. Already we should start to see whether our proportions look . . . you know, human. Ha! 😆 

Draft the top half

Now that we’ve got our outline, we use the Neck measurement to make the neckline, both front and back. By the way—we’re drafting the front and back of this leotard pattern at the same time! Which saves time and ensures that they match up perfectly. 👌

Next we use Shoulder Width to make our shoulder line, then Front Width and Bust to draft the armhole. 

This is the part where we really check out our proportions and test our measurements. We’ve now used those four troublesome measurements I mentioned—Front Width and Shoulder Width, Back Length and Side Seam. 

Start the sleeve to check measurements

Beside eye-balling it and seeing if we think our pattern looks proportional so far, I’ve found that a great way to test our measurement accuracy is to start the sleeve.

Something that often happens when one or more of those measurements is wrong is that the bustline ends up too high, and the armhole ends up too short, and that means that our sleeve pattern will end up wonky. 

What we need to do is make enough of our sleeve pattern to determine whether the armhole is as big or bigger than the Upper Arm measurement. Unless you’ve got Popeye-esque arms, you definitely want the armhole to be bigger. Even if you do have Popeye arms, it would probably be a bit uncomfortable to shove your big arm through a small hole.

As long as the proportions look good and the sleeve passes this test, we’re good to move on. If not, we may need to retake one or more of those four measurements and adjust our pattern until the sleeve looks right. 

Draft the bottom half

Especially if we had to do extra work to fix our pattern, the next part is nice and breezy.

We use our Waist measurement to do the side seam from the armpit to the waist, then our Hips measurement to draft the waist down to the hips, and give that line a slight curve.

We use our spreadsheet-calculated Hipline 2 measurement to help us get our pattern ready to draft the legholes. We also alter the crotch line so that our Leotard Front piece will be shorter and our Leotard Back piece will be longer. 

We draft the front leghole, which is a deep curve, and the back leghole, which is a much more shallow curve. And we’re really close to finishing now!

Separate Leotard Back and Leotard Front pattern pieces

At this point we’re ready to get a sharpie and outline Leotard Back. This is just to make it super clear which lines we should cut, and which lines are just there from the drafting process. (It sucks to do all this work and then cut on the wrong lines. Ask me how I know! Haha.) We cut out Leotard Back and trace it on the same paper. 

Now that we have a copy of Leotard Back, we can trace the neckline and leghole for Leotard Front and cut that out. Now we’ve got our Leotard Front and Leotard Back pieces. One more piece!

Finish sleeve

Finally, we go back to our sleeve pattern and finish the sleeve cap. We label all three pieces, and now this basic leotard pattern is ready to be used to make endless comfy, custom-fit, secure athletic leotards!! 😄 

Now what?

This process of making a basic leotard pattern is day 1 of my free DIY Athletic Leotard Course. As I said, you can trace this pattern to start designing a leotard to sew, and that is precisely what we do in day 2 of the course. And day 3 is where we finally cut out our fabric and sew it into a leotard! 

Assuming you read this much of this post, it’s probably safe to say that this free course is for you (or maybe you just really like reading? 😉). The course breaks all this down into so much more detail, step-by-step, so you know exactly what to do and can get a good result. If you haven’t already, you can sign up below! 

Get Free Access to the DIY Athletic Leotard Course!