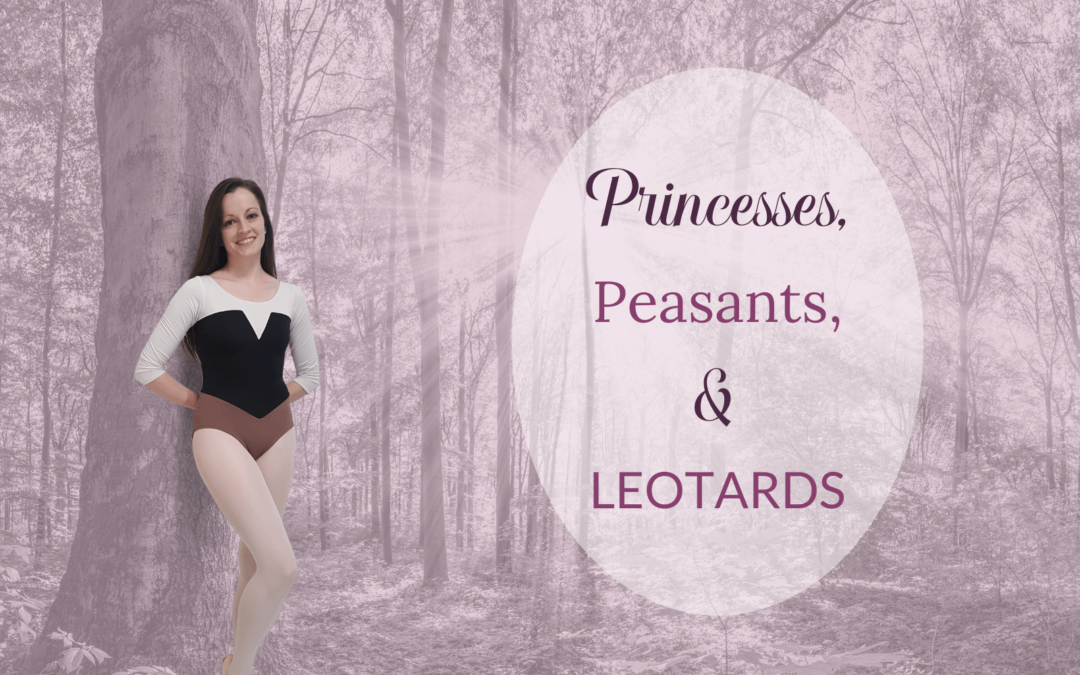
Princesses, Peasants, & Leotards
Secretly, I’ve been thinking about doing this for a long time—making princess-inspired leotards. 😊 I’ve drawn lots of princess leotard designs, but this is my first time actually sewing one!
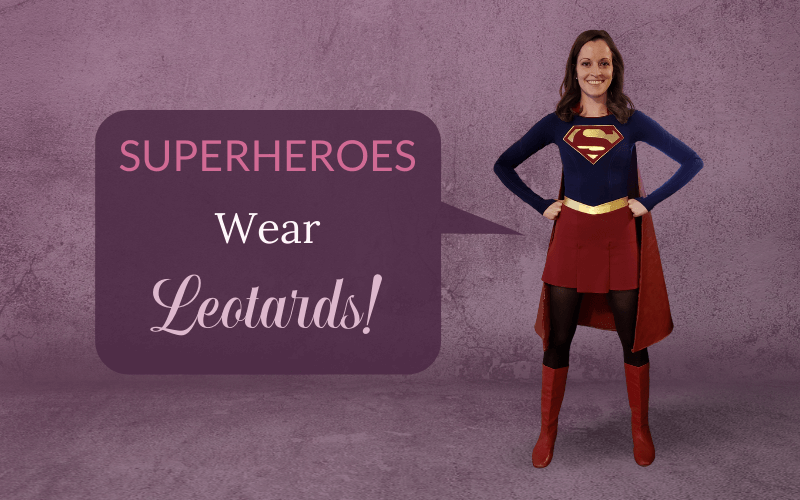
I thought Halloween was a good time for it. I won’t actually be wearing this leotard today—I’m wearing my Supergirl costume! That one is more of a full-on costume that I probably wouldn’t want to wear to a dance class (ugh, dancing with a big pleather cape, haha), but is great to wear once a year to Halloween events. This leotard is the opposite—it’s super comfy, easy to move in, and totally practical for wearing to a dance rehearsal, on Halloween or any other day of the year!
Anyway, you might notice that this leotard looks more peasant-y than princess-y. It is! But it was inspired by a certain Briar Rose, a peasant girl who is unknowingly a princess, and who looks every bit as beautiful, graceful, and princess-y in her simple peasant dress.
I actually made a pattern for a princess leotard to go with the peasant leotard, but JoAnn’s didn’t have the fabric I needed for it! (I’ve used up too much of my bright pink lycra, haha!! 😆 It’s so fun.) So, the princess leotard very well may be a part two for this blog post. 😁
Here are a few pictures from the process of making this peasant leotard!
First, the pattern. The peasant pattern is on the left, and just for fun I’m showing you my princess pattern, on the right, even though I haven’t sewn it up yet. Of course these are just the outside pieces. There are also lining pieces, which are the same overall shape but not as many pieces. There’s no reason for all those seams on the inside.


I was so excited to make the peasant leotard—I just think the shape, especially of the corset part, is so pretty. So, even though I didn’t have all the fabric I needed, I took scraps and hoped to make it work, haha! That meant no sleeves, and the shirt part on top had a middle seam, which is not great for the look or the logistics of sewing it together, haha.

It was a good trial run, though, and it helped me figure out what I needed to do to make it work for the real thing, haha. I normally don’t work with such interesting acute angles and whatnot, especially in the center of the pattern, without a seam, and with stretch fabrics. That was interesting.
I finally went and bought new fabric, cut out the pieces again (the right way, haha), and started again.
It was very helpful to not have a seam in the middle to try to match up exactly to the point, haha. I also did some reinforcement stitching on those three points on top so I could safely clip to the corner and pull the funky shapes around to match each other. I probably should have taken pictures of these details in the process. I’ll think about that next time.

Oh! Another detail I should definitely mention—sewing these angles nicely with a serger was NOT going to happen, haha! So for this seam, even though it takes longer, I used my normal sewing machine and a triple straight stretch stitch (say that ten times fast. Even if you say it right it still feels wrong, hahaha 😜). I think for every other seam I used a serger.


Most of the rest of the process was very much the same as my usual process that I use in my DIY Athletic Leotard Course. The bottom V point of the corset was a little interesting as well, but not bad, and it worked out just fine with a serger. I was glad I didn’t have to use the triple straight stretch stitch for that (just needed another excuse to make you try to say that, haha 😄).
")
I didn’t even take any pictures of making the bottom, because it was the same as usual, haha. And I was too anxious to finish to stop! So the next picture is one of the finished product, in the woods, where the person wearing it might hang out with animal friends and tell them about her dreams of a handsome prince. 😉❤️️

There are so many fun things you can do with leotards. And they can be COMFY!! That’s one of the best parts. If you want to learn to make your own leotards, sign up for my free DIY Athletic Leotard Course! It’s a 3-day course (but you can take it as fast or slow as you want) with in-depth, step-by-step videos and written instructions to help you feel confident that you’re doing it right and will get a great result. 😊
Thanks for reading, and watch out for part two, with the princess leotard!