Everybody Needs a (COMFY) Simple Black Leo!

Everybody Needs a (COMFY) Simple Black Leo!

Are you dancing in person these days? For most of last year, my dance company, World Dance Company, was doing virtual rehearsals. It is an interesting challenge to learn choreographies, especially partner work- or formation-intensive choreographies, through live video that sometimes lags!

Well, World Dance Company is finally at a point where we’ve decided to rehearse in person, with masks and social distancing. We rehearse early in the morning, when the studio is otherwise empty and the floor is so cold it makes your feet ache.

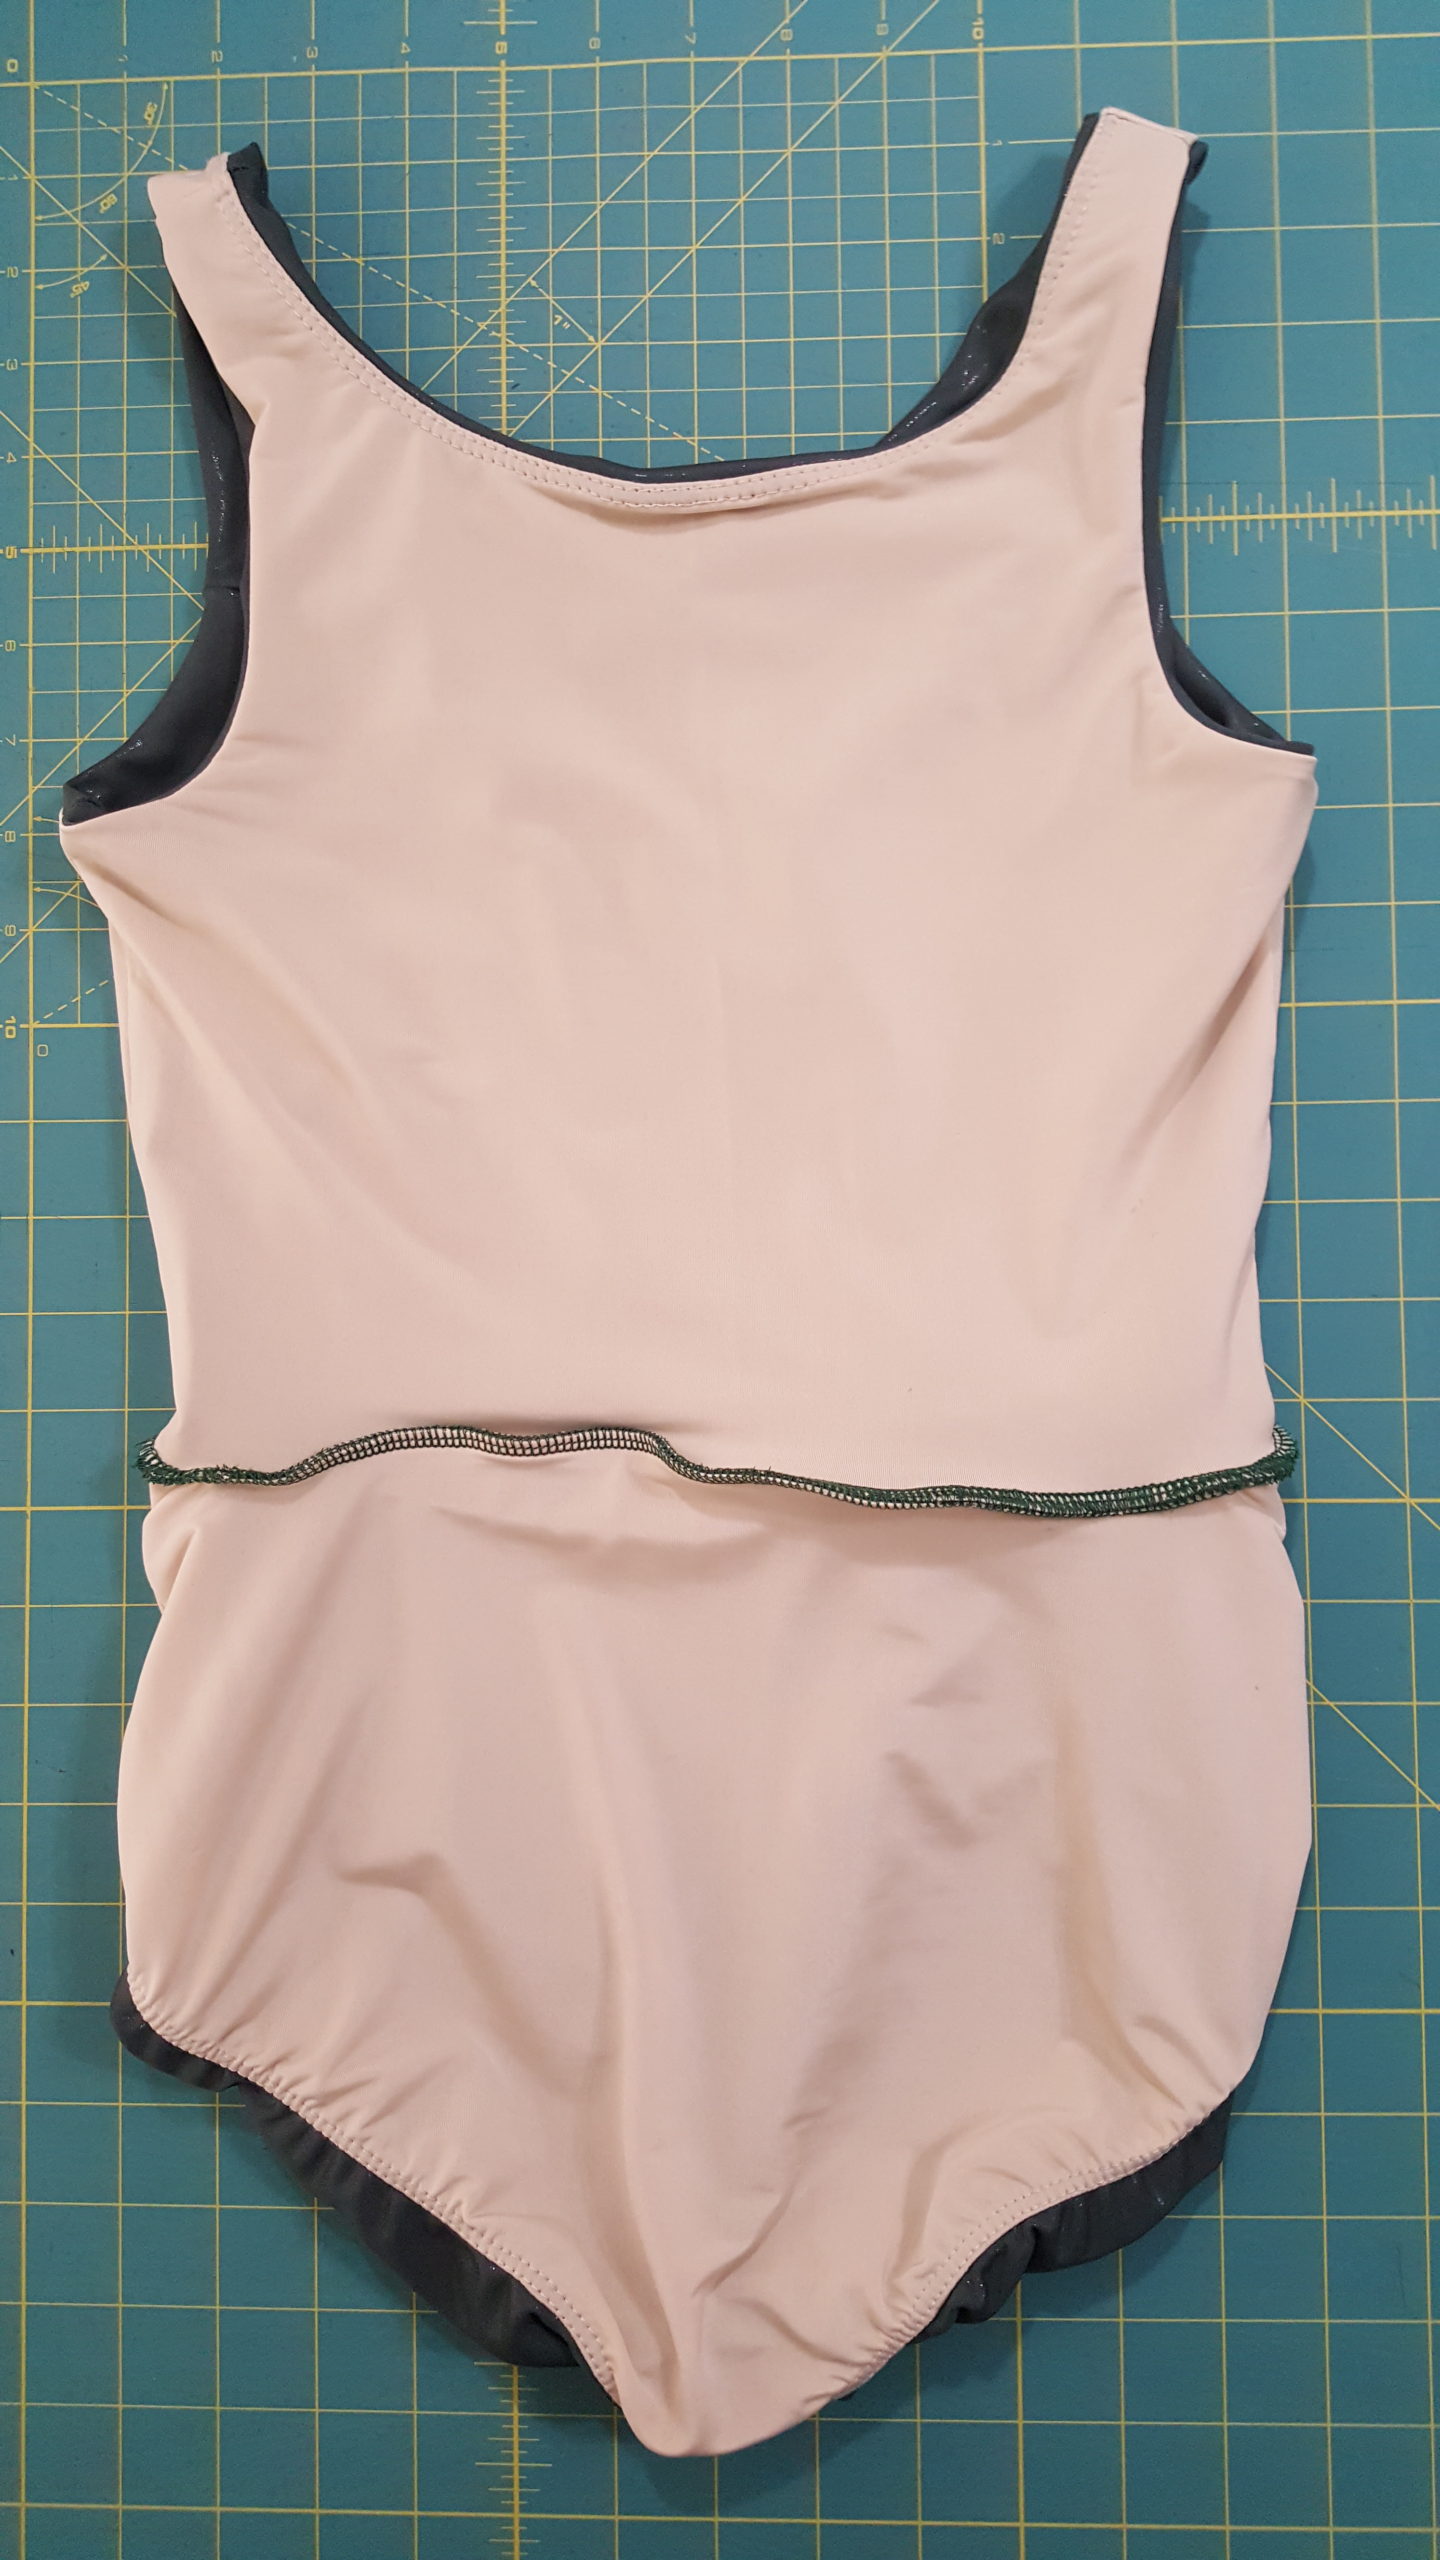
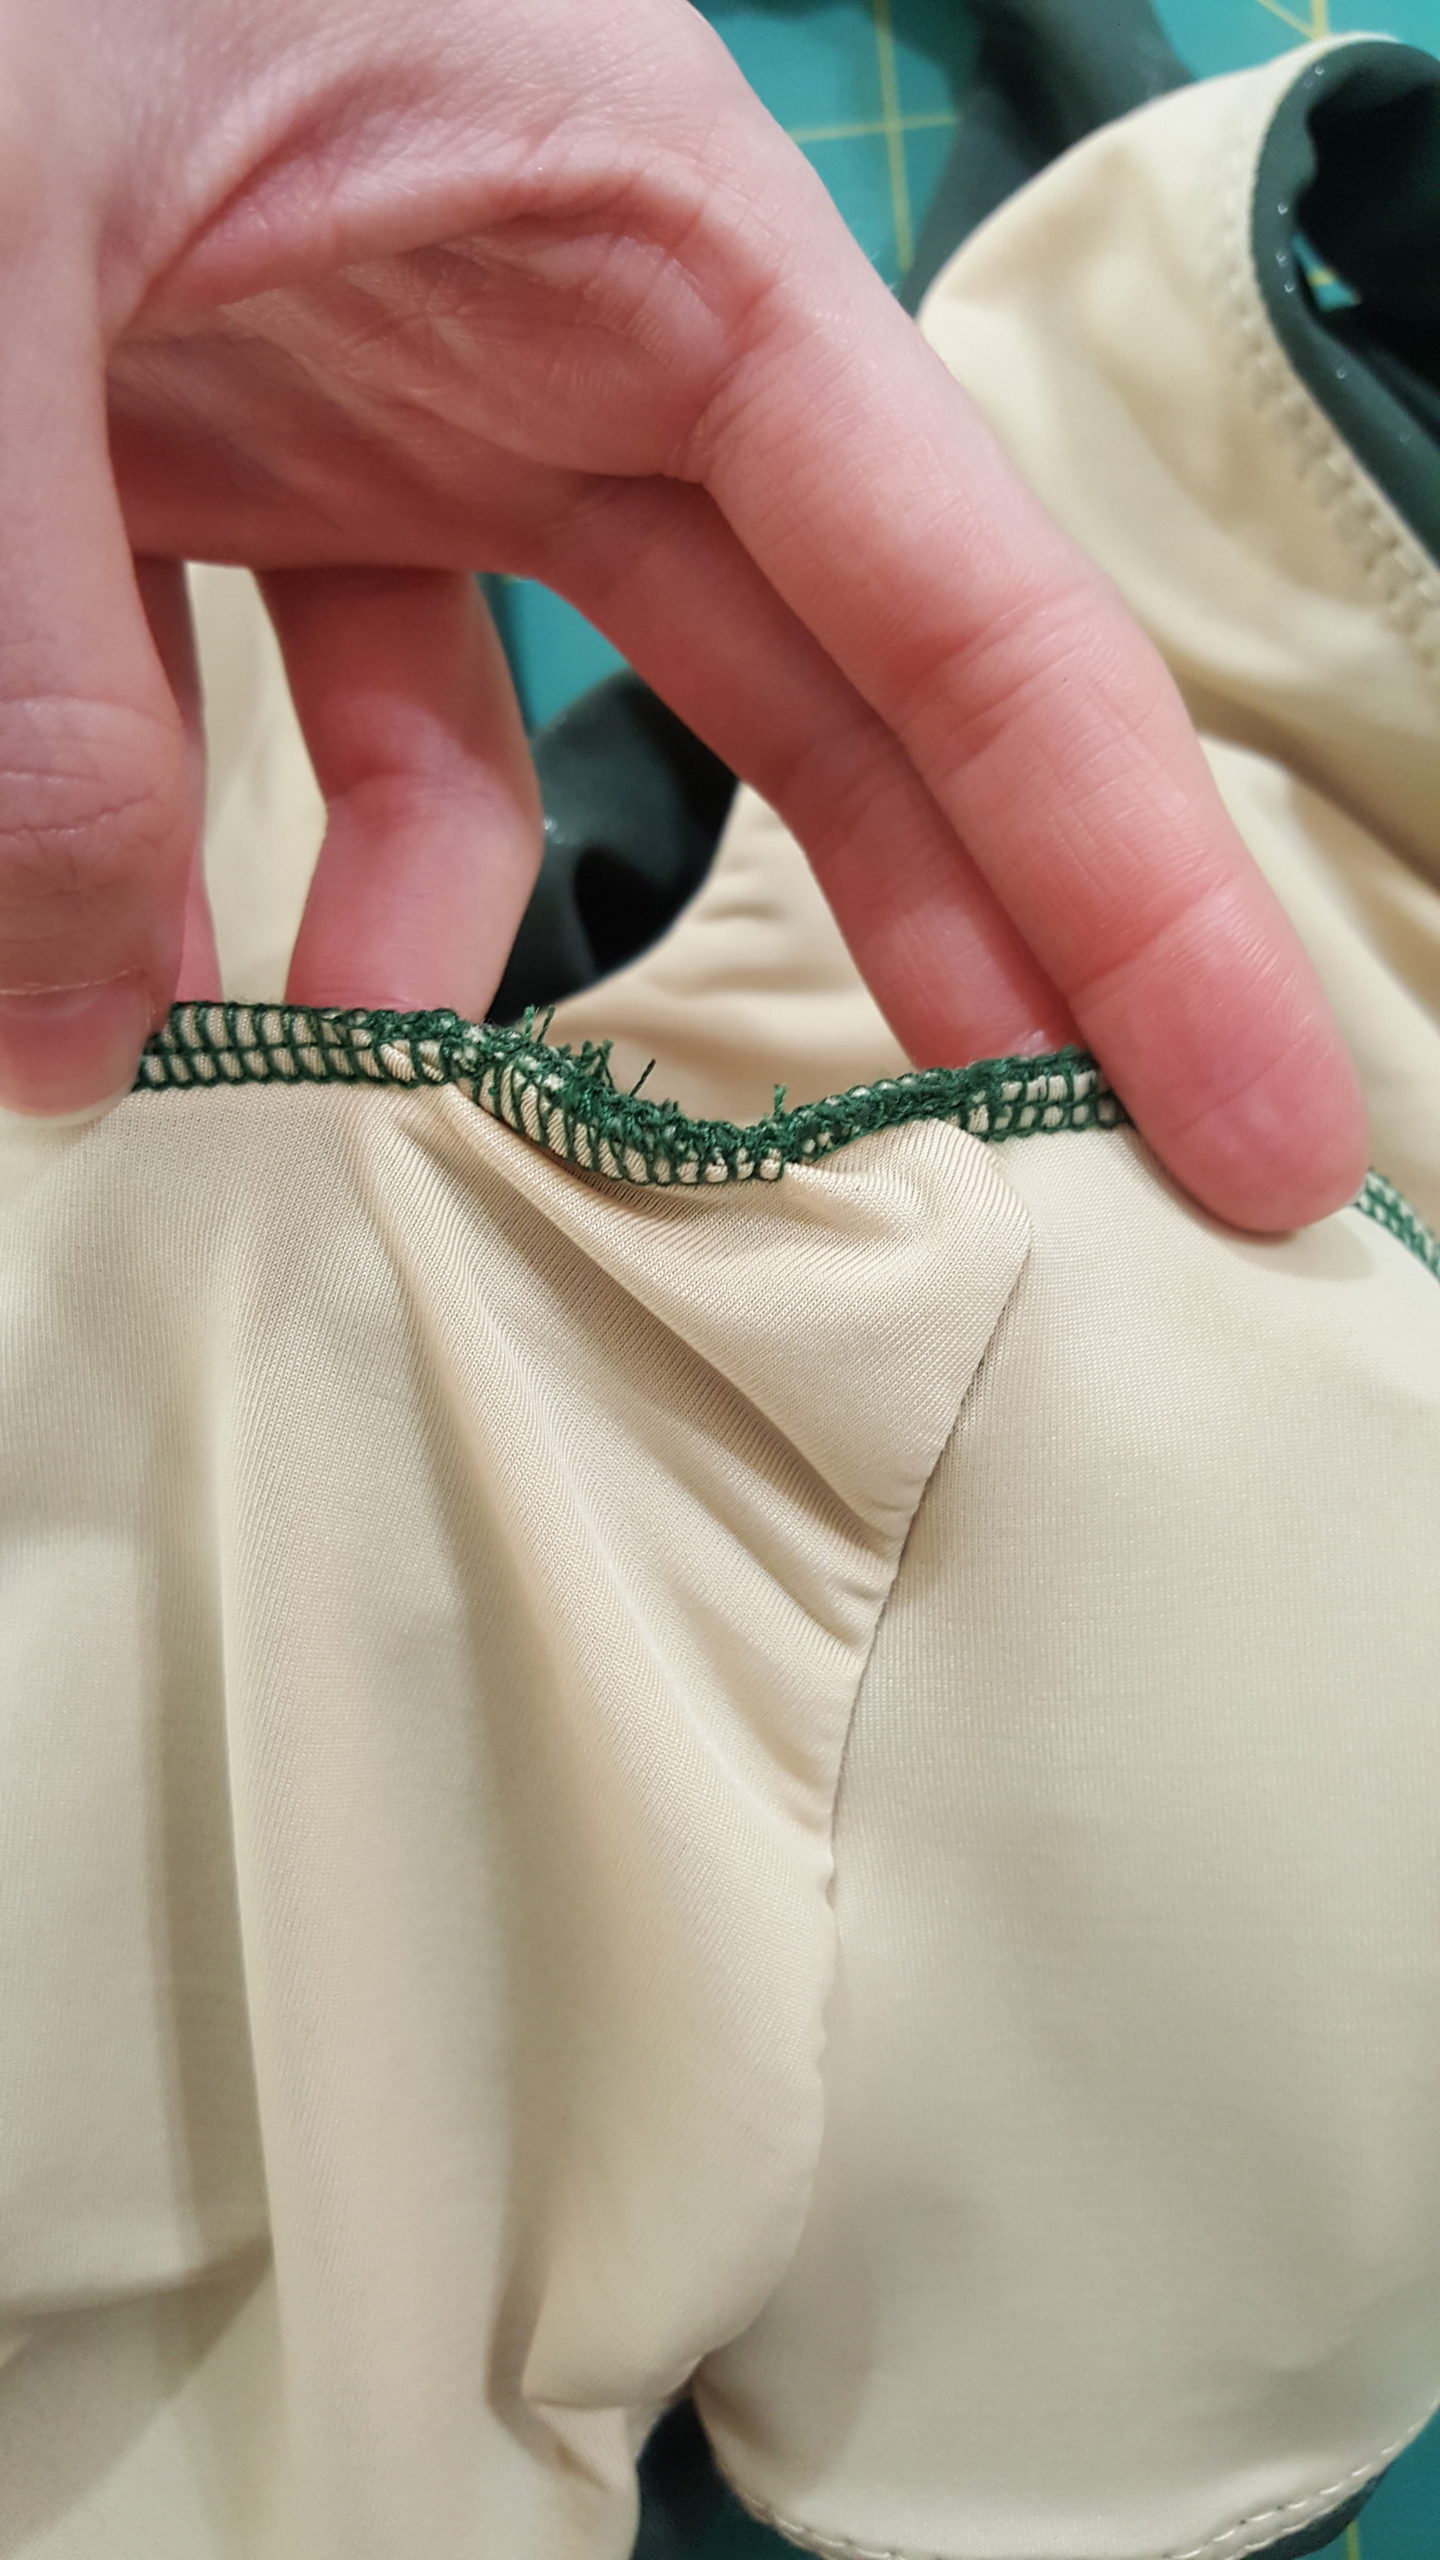
I started wearing an old long sleeve leotard with my character skirt to stay warmer (we have choreographies that include skirt-swishing, haha), and I finally told myself that I could make a long-sleeved leo for myself that would be much comfier. So I did!

It was about time for me to make a simple black leo anyway. Everyone needs at least one! I’ve just had so much fun making leotards in crazy colors, I couldn’t bring myself to make a boring one for a while. But comfy and silky and warm really isn’t boring!

Rather than pack this blog post with photos of the process of making it, this time I decided to make it a quick little video, haha. 

This leotard is great for the winter months. Of course, any leotard design can be done with black fabric. If you’re a dancer who has to abide by a dress code, it likely includes black leotards. But in many cases you’ll still have the freedom to spice it up. Do you have a black leotard design you’d particularly like to make?  

At this point, I’ve had a couple of requests for another course with a new leotard. I’ve struggled to decide what leotard should be next, though. Will you help me? 🙂

I would love it if you’d take a second to answer these four questions! Otherwise I’m just guessing about what my people need, haha.

Thank you so much!

Also, if you’re new here, you can start making leotards with me for free by signing up for my free DIY Athletic Leotard Course! Feel free to share with any friends who you think might be interested, too! 😊

Get Free Access to the DIY Athletic Leotard Course!

Trial and Error in Designing Leotards

Trial and Error in Designing Leotards

Today I’m going to walk you through my process of designing, sewing, evaluating and fixing a new leotard. I decided that I needed a sleeveless leotard design, because while I’m sure there are many like me who want more leotards with sleeves, especially cap sleeves (not boxy, straight across the bottom sleeves or long sleeves, but nice-looking short sleeves, please!), I’m also sure there are many dancers who are more warm-blooded than me and just don’t want any sleeves in the way or adding an extra layer of warmth!

So here we go.

Making the Leotard

For this leotard I wanted a fairly basic pattern that still has a couple of nice but subtle design features. This leotard has a seam at the waist, princess seams on the top front, and a little bit of a v-neck. 

Last time I went fabric shopping at JoAnn’s (I’m so lucky to have one so close to home!), I found this new performance fabric with the weirdest/coolest shine to it . . . it almost looks wet. I couldn’t help but try it out, so I got this dark green color.

Last time I wished I’d taken more pictures of the process, so I did that this time. Here I’ve got the princess seams sewn on the outside front piece, and the shoulders sewn together on both the outside and the lining. I love being able to throw more seams on the outside while keeping one smooth, solid piece on the inside. That way I get the design features I want without sacrificing comfort!

Next I sewed the neckline of the outside and lining pieces together. Because it’s a v-neck, I clip the corner about 1/4″ to make it easier to sew it and to keep the shape.

Then I added the elastic to the lining . . .

. . . and I apparently didn’t take any pictures of sewing the armholes or side seams. But that happened! Haha. Then I sewed up the bottom! Voila, top half finished.

The process for the bottom half is quite similar. I sewed the crotch seam of the outside and lining pieces, then sewed the outside and lining pieces together at the legholes. 

Then I added elastic to the legholes, and once again didn’t take pictures of sewing up the side seams . . . huh. But, once again, that happened! Ha. And then I sewed up the top. 

Then I sewed the top to the bottom, and tried it on! 

That, of course, was oversimplified, but this post isn’t meant to be a tutorial. It’s more for giving you a general idea of the process. However, let me know—would you like to buy a course to teach you (in much more detail) how to make a leotard like this?

Evaluating the Leotard

Alright, so I finished the leotard and tried it on, and was . . . disappointed!! Hahaha.

It wasn’t terrible or anything, but I do tend to be a bit of a perfectionist, and it wasn’t quite what I was going for. But here’s the thing—it’s totally okay to make a leotard and find that it’s not exactly what you wanted. It’s all part of the process and you can always learn from it. And truthfully, it’s still a pretty functional leotard, with just a couple tweaks. 

Problem #1: The Straps

The straps on this leotard came in far enough from the shoulders that they didn’t cover my bra or tights straps (I like full body tights with straps because they don’t dig into my waist). I’m sure this wouldn’t bother many dancers, but for me I wanted a nice clean look that doesn’t require me to tuck my straps in unnaturally to hide them.

I can’t fix that with this leotard, but the next time I make a leotard pattern I can just bring the straps out further and widen the neckline. No big deal! 

Problem #2: The Waistline Seam

Again, not the worst problem in the world, but for some reason this fabric behaved oddly on the seamline. The waist seam just really wanted to stick out funny on the back. I still don’t know why!

But, you’ve got to expect that when you try out a new fabric, some unexpected things might happen. If I use this type of fabric for a leotard again, I’ll probably try having a seam under the bust instead of on the waist. It might be a problem there too, but I think it might hide better there.

Problem #3: The Leghole Elastic

So the biggest problem by far with this leotard was that the elastic on the legholes was popping out on the bottom and showing the lining. That was especially disappointing because I’ve worked so hard to design my leotard patterns so that won’t happen.

However—as I explain in my free DIY Athletic Leotard Course—you have to make sure that your outside fabric is as stretchy or stretchier than the lining fabric!! Guess who forgot to follow her own advice with this new shiny fabric?

Ya it was me.

I saw the shiny fabric and went, “MINE,” before really thinking about it. Haha. It seems that it’s a bit less stretchy than the lining, and that created this annoying issue.

The good news is that problem #3, the biggest problem, is also the one that was easiest to fix on this leotard. So I didn’t have to start over and make a new one! This might be helpful to you in case you ever have the same issue!

Fixing the Leotard

The legholes were just fine in the front, the problem was only in the back. So I turned the leotard inside-out, flipped it to the back, and pulled the lining up just enough to match a fold to the waist seam. You can see when I fold it down that the lining is not sticking up past the seam.

I also didn’t do this all the way to the side seams—my side seams already matched up nicely and I didn’t want to mess with that, so I just tapered the new serge on and off a little ways away from the side seams.

Guess what? The elastic was still popping out. 

So I did it again!! And serging the fold of lining onto the seam the first time made it really thick, so this time I shaved off most or all of the previous seam to make it less bulky. I was also hoping that this would help problem #2 by taking away a little of the excess fabric on the back and making it lay smoother. I think it did help a bit.

It was better this time, but I still couldn’t trust the elastic to stay put, so I did this process a THIRD time, which is kinda crazy. But good news, it worked!! (I didn’t take pictures this time because I didn’t think you needed a third set of pictures of exactly the same thing, haha). 

So now, thankfully, my leotard is functional, the biggest problem is fixed and I can wear this leotard. Yay! And I can still modify my pattern in the future to have a better version of this leotard.

I took these pictures to show you what the waist seam looked like on the inside after pulling it up 3 times. On the back next to the side seam, it’s not super pretty. But I can’t feel it when I wear it, and you can’t see it at all from the outside. That’s one of the great things about stretch fabrics—they’re much more forgiving, so you can pull off little fixes like this.

t’s maybe not ideal to have a seam look like this on the inside—I wouldn’t sell this or anything. But for a leotard I made for myself, I’m pretty happy with it, especially since at first it wasn’t a functional leotard with that elastic sticking out, and now it is! I’m glad I can still wear it.

If I were to use this fabric for another leotard, I would want to account for the stretch and modify the lining pattern for the bottom back piece to be shorter, so it has to stretch more and will be tighter than the outside, pulling the elastic securely to the inside.

With this post I wanted to show you that it’s okay to make mistakes while designing leotards. You’ll never design something awesome if you’re not willing to make some mistakes to get there. And, like I’ve shown you, not all mistakes mean the leotard isn’t wearable. Sometimes you can find a quick fix rather than making another leotard from scratch. 😊

Alright, that’s all for now—if you haven’t yet, I hope you’ll consider making leotards with me! You can start for free by signing up for my DIY Athletic Leotard Course! I’ll show you how to get through the trial and error process of making your own custom leotard pattern using your body measurements. In this case we’ll make all the corrections BEFORE cutting out and sewing your leotard, haha! 

Get Free Access to the DIY Athletic Leotard Course!