
What is a basic leotard pattern?
A basic leotard pattern is not one that you actually cut out of fabric and sew into a leotard. It’s solely a paper pattern, and it goes all the way up to your neck in front and back, and it has sleeves. The important thing about this pattern is that it is custom-made with your body measurements, and with it you can design any leotard you like, knowing it will fit you just right.
Why a basic leotard pattern?
If you’re going to go to the trouble to make your own leotard, you want it to fit well, right? Having a custom fit that is comfy and secure for your body specifically is one of the big perks of making your own dancewear.
And the great thing is, unless your body measurements dramatically change (hey, you might wanna make a pregnancy leotard too), you only have to take your measurements and make your basic leotard pattern once. After that, you literally get to quickly trace it and start the fun part of designing your next leotard.
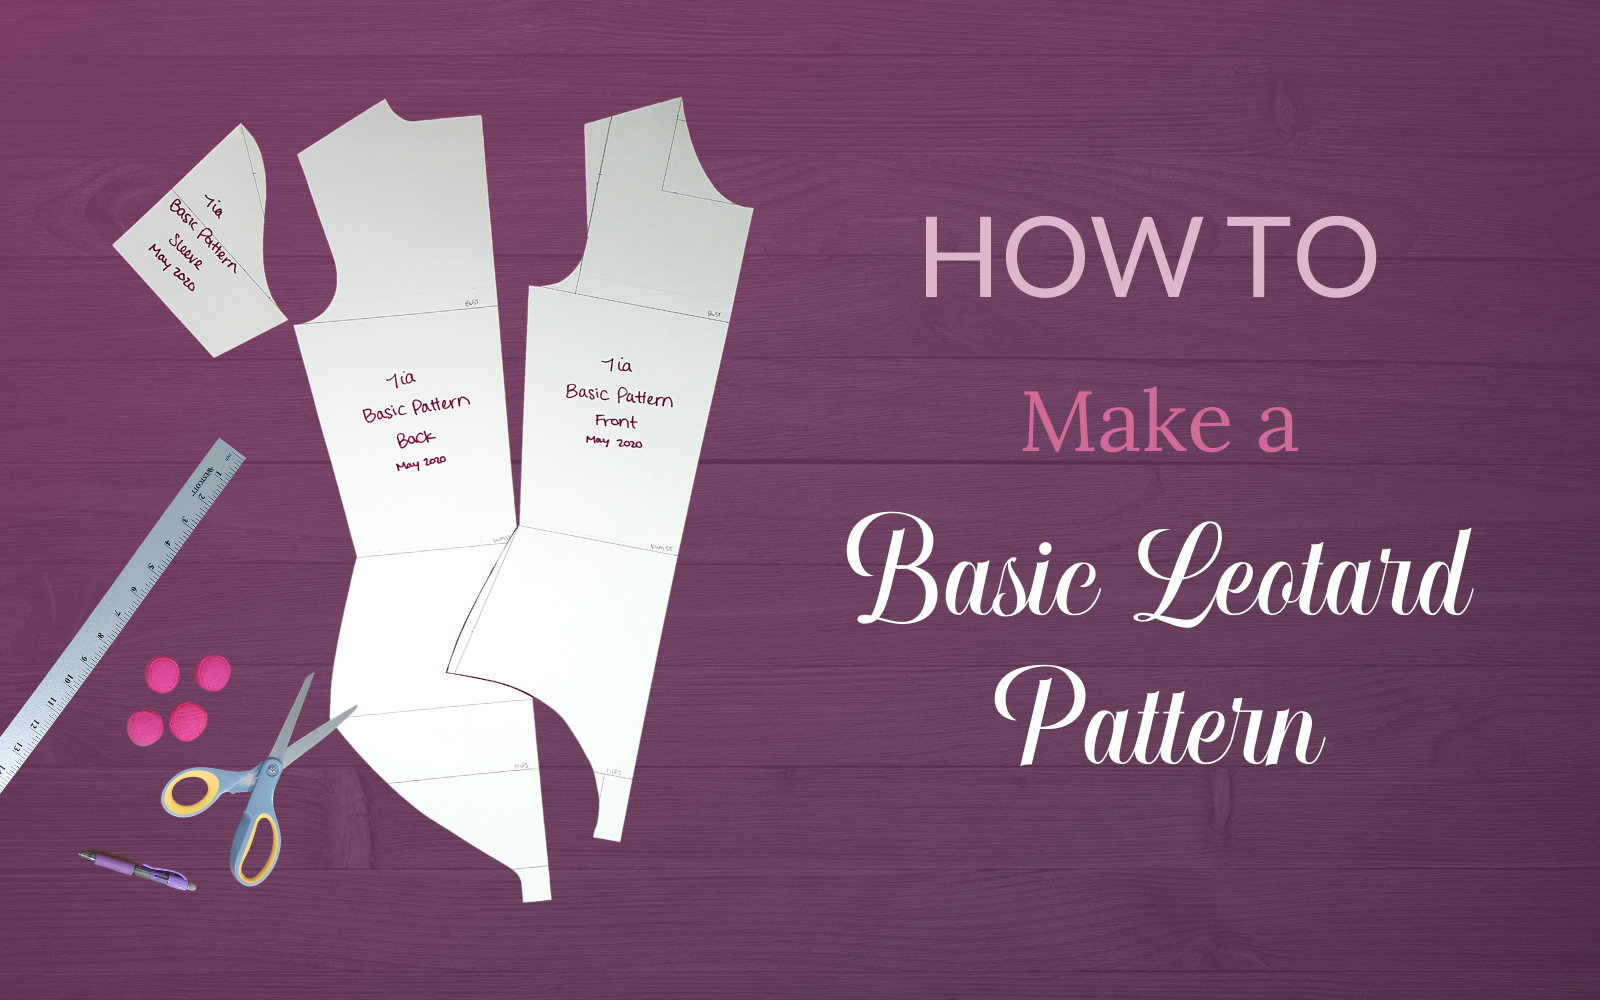
Because you’ll keep your basic leotard pattern and trace it over and over, I recommend making it on thick poster paper so that it is durable and has a nice crisp edge that you can easily trace.
It’s so worth it to take the time to get really accurate measurements and make this pattern for your body. It will save you so much time and will give you better results with every leotard you make from here on out!
I’ll explain more below, but here’s a time-lapse of this process because a visual will probably be helpful!
Take measurements
So the first thing we do is take our body measurements, and there are ten: Neck, Bust, Waist, Hips, Front Width, Shoulder Width, Back Length, Side Seam, Upper Arm, and Girth.
I can tell you right now that there are four measurements that people often get wrong the first time: the Front Width and Shoulder Width, and the Back Length and Side Seam. These measurements are super important because they help you get the proportions of your leotard pattern right so that your leotard will, in fact, fit your body.
Don’t worry—in the DIY Athletic Leotard Course I give you tips for taking accurate measurements, and I also show you ways to make sure your proportions are correct and troubleshoot if they’re not.
Enter the measurements into your spreadsheet
Inside the DIY Athletic Leotard Course I give you a spreadsheet to put all your measurements into. You can decide whether to measure in inches or centimeters.
The spreadsheet will automatically convert your measurements to centimeters, if they aren’t already, then take the right percentage of each measurement to account for the stretch of the fabric, then take the right fraction of each measurement depending on how you will use it to draft your pattern.
If that sounds complicated, no worries—all you need to do is take good measurements, and then the spreadsheet will do all the math for you. 😊

Make a leotard outline
Once we’ve got all our measurements, we start using them to draft our pattern! At this point we will ignore all the measurements on the left side of the spreadsheet, and only pay attention to the ones in the column on the right labeled “To Use For Pattern.”
We start with half the Girth measurement to mark where the crotch is. Next we use Back Length to mark the waistline, Side Seam to mark the bustline, and Hipline 1 (a measurement the spreadsheet calculates for you) to mark the Hips. Already we should start to see whether our proportions look . . . you know, human. Ha! 😆
Draft the top half
Now that we’ve got our outline, we use the Neck measurement to make the neckline, both front and back. By the way—we’re drafting the front and back of this leotard pattern at the same time! Which saves time and ensures that they match up perfectly. 👌
Next we use Shoulder Width to make our shoulder line, then Front Width and Bust to draft the armhole.
This is the part where we really check out our proportions and test our measurements. We’ve now used those four troublesome measurements I mentioned—Front Width and Shoulder Width, Back Length and Side Seam.
Start the sleeve to check measurements
Beside eye-balling it and seeing if we think our pattern looks proportional so far, I’ve found that a great way to test our measurement accuracy is to start the sleeve.
Something that often happens when one or more of those measurements is wrong is that the bustline ends up too high, and the armhole ends up too short, and that means that our sleeve pattern will end up wonky.
What we need to do is make enough of our sleeve pattern to determine whether the armhole is as big or bigger than the Upper Arm measurement. Unless you’ve got Popeye-esque arms, you definitely want the armhole to be bigger. Even if you do have Popeye arms, it would probably be a bit uncomfortable to shove your big arm through a small hole.
As long as the proportions look good and the sleeve passes this test, we’re good to move on. If not, we may need to retake one or more of those four measurements and adjust our pattern until the sleeve looks right.
Draft the bottom half
Especially if we had to do extra work to fix our pattern, the next part is nice and breezy.
We use our Waist measurement to do the side seam from the armpit to the waist, then our Hips measurement to draft the waist down to the hips, and give that line a slight curve.
We use our spreadsheet-calculated Hipline 2 measurement to help us get our pattern ready to draft the legholes. We also alter the crotch line so that our Leotard Front piece will be shorter and our Leotard Back piece will be longer.
We draft the front leghole, which is a deep curve, and the back leghole, which is a much more shallow curve. And we’re really close to finishing now!
Separate Leotard Back and Leotard Front pattern pieces
At this point we’re ready to get a sharpie and outline Leotard Back. This is just to make it super clear which lines we should cut, and which lines are just there from the drafting process. (It sucks to do all this work and then cut on the wrong lines. Ask me how I know! Haha.) We cut out Leotard Back and trace it on the same paper.
Now that we have a copy of Leotard Back, we can trace the neckline and leghole for Leotard Front and cut that out. Now we’ve got our Leotard Front and Leotard Back pieces. One more piece!
Finish sleeve
Finally, we go back to our sleeve pattern and finish the sleeve cap. We label all three pieces, and now this basic leotard pattern is ready to be used to make endless comfy, custom-fit, secure athletic leotards!! 😄
Now what?
This process of making a basic leotard pattern is day 1 of my free DIY Athletic Leotard Course. As I said, you can trace this pattern to start designing a leotard to sew, and that is precisely what we do in day 2 of the course. And day 3 is where we finally cut out our fabric and sew it into a leotard!
Assuming you read this much of this post, it’s probably safe to say that this free course is for you (or maybe you just really like reading? 😉). The course breaks all this down into so much more detail, step-by-step, so you know exactly what to do and can get a good result. If you haven’t already, you can sign up below!