
Get Free Access to the DIY Athletic Leotard Course!
Make your own athletic leotard in 3 days (even if you’re afraid of sewing stretch fabrics) so that you can
STOP settling for unsupportive, scratchy leotards that don’t fit right and
START dancing in comfy, supportive, custom-fit athleticwear!
So! You need better leotard options?
I feel your pain.
While the rest of the athletic world has revolutionized their athletic clothing with comfy, stretchy fabrics, soft thread, and flat seams that don’t dig into your skin, for some reason the dance world has been left behind . . . ever wonder why?
I wonder if it’s because dancers have bought into the idea that beauty is pain. That idea can be very applicable in dance. Long rehearsals, sore muscles, and, say, pointe shoes, definitely can lead to exquisite beauty on stage.
I can’t do much for you when it comes to pointe shoes and sore muscles. Buuuuut . . . do leotards really need to be as uncomfortable as they so often are?
I don’t think so!! And I can help you with that!
I think that some of us need to recognize that

. . . and, if dancers are athletes (which they definitely are), then they should have comfy, supportive athleticwear too!
One day, as I looked at the construction of one of my favorite pairs of comfy, secure, athletic leggings, I thought, “Why can’t I have a leotard like this??”
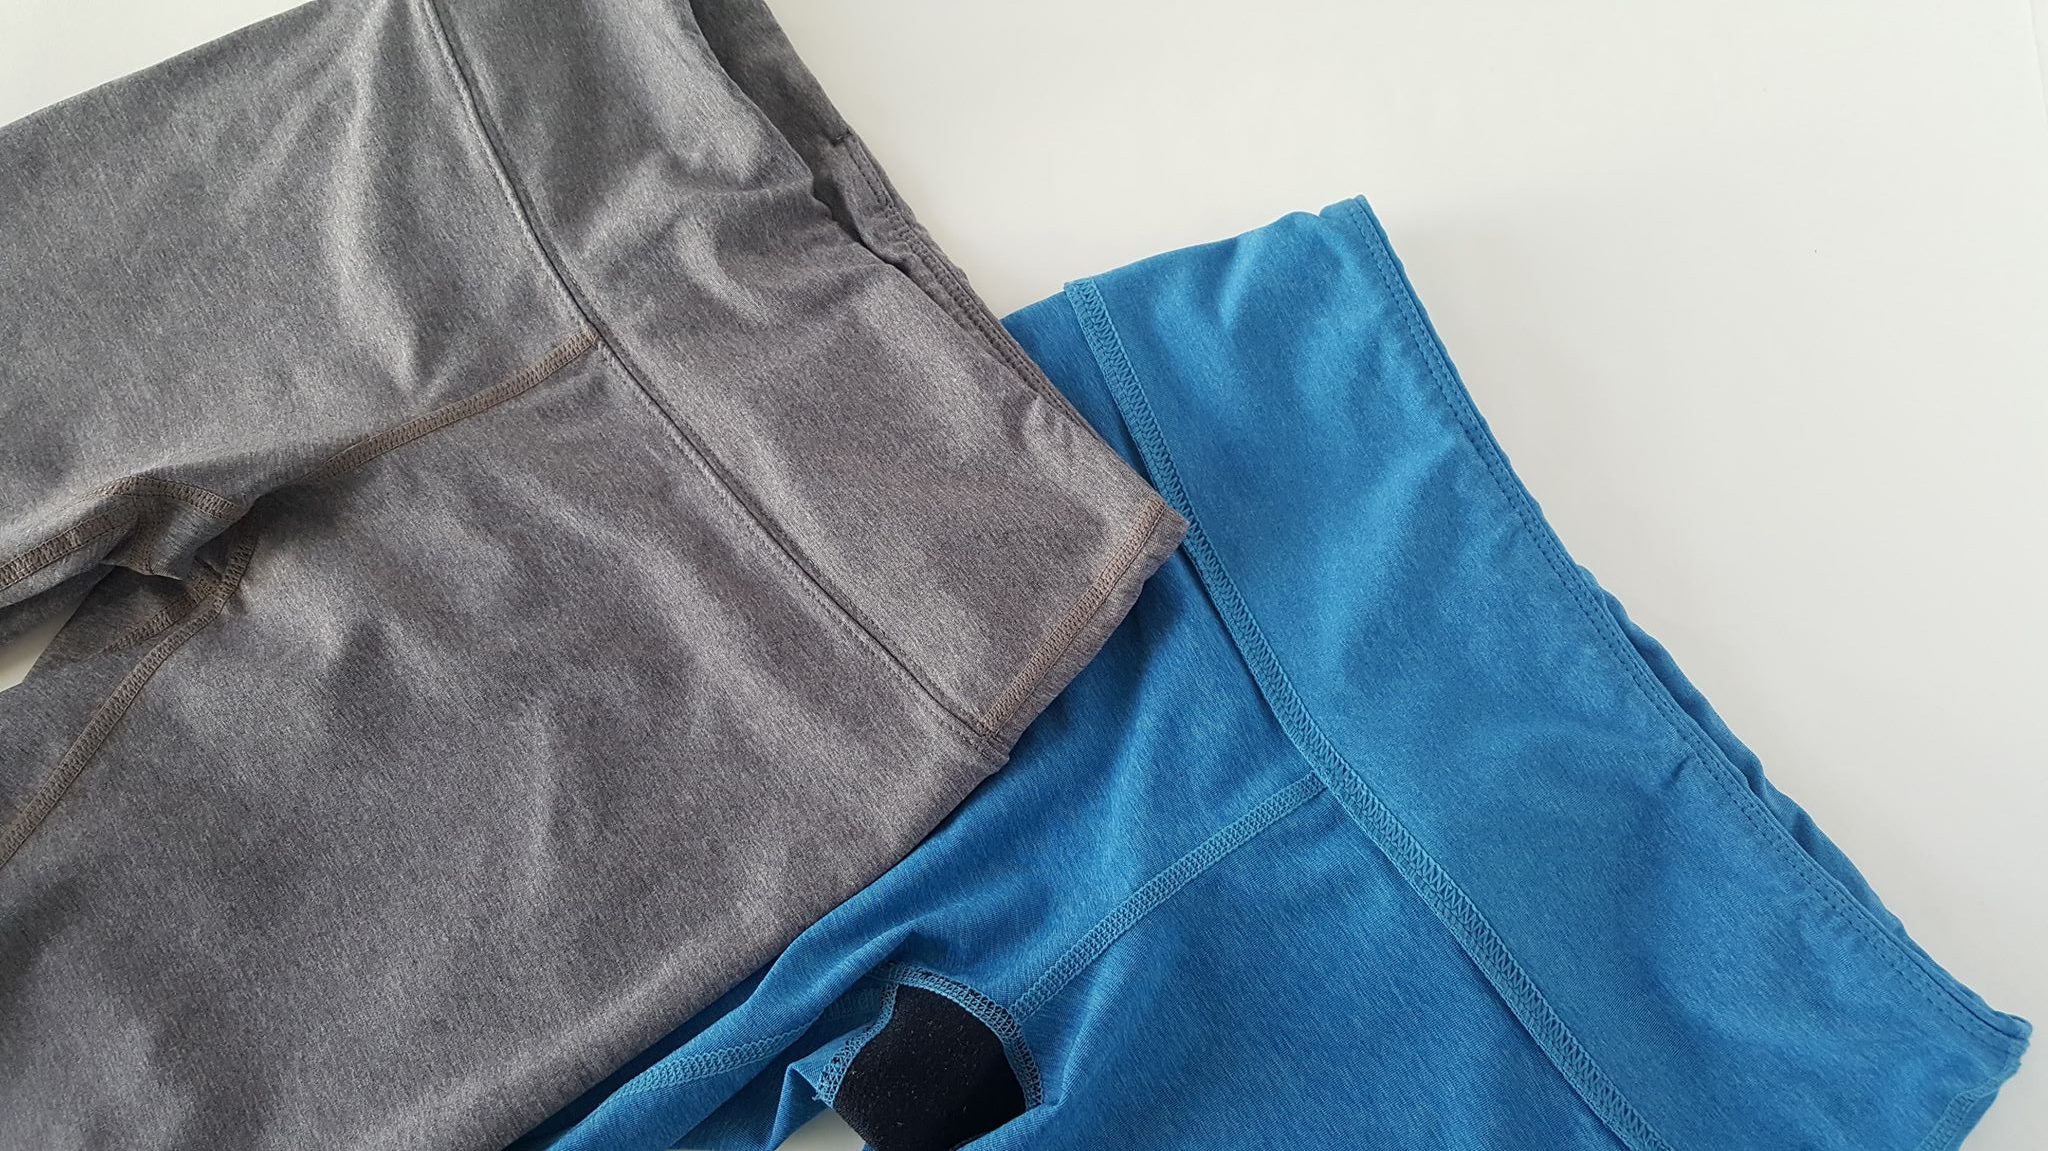
So I started prototyping leotards to be athleticwear-style, and
I have revolutionized the process of sewing leotards!
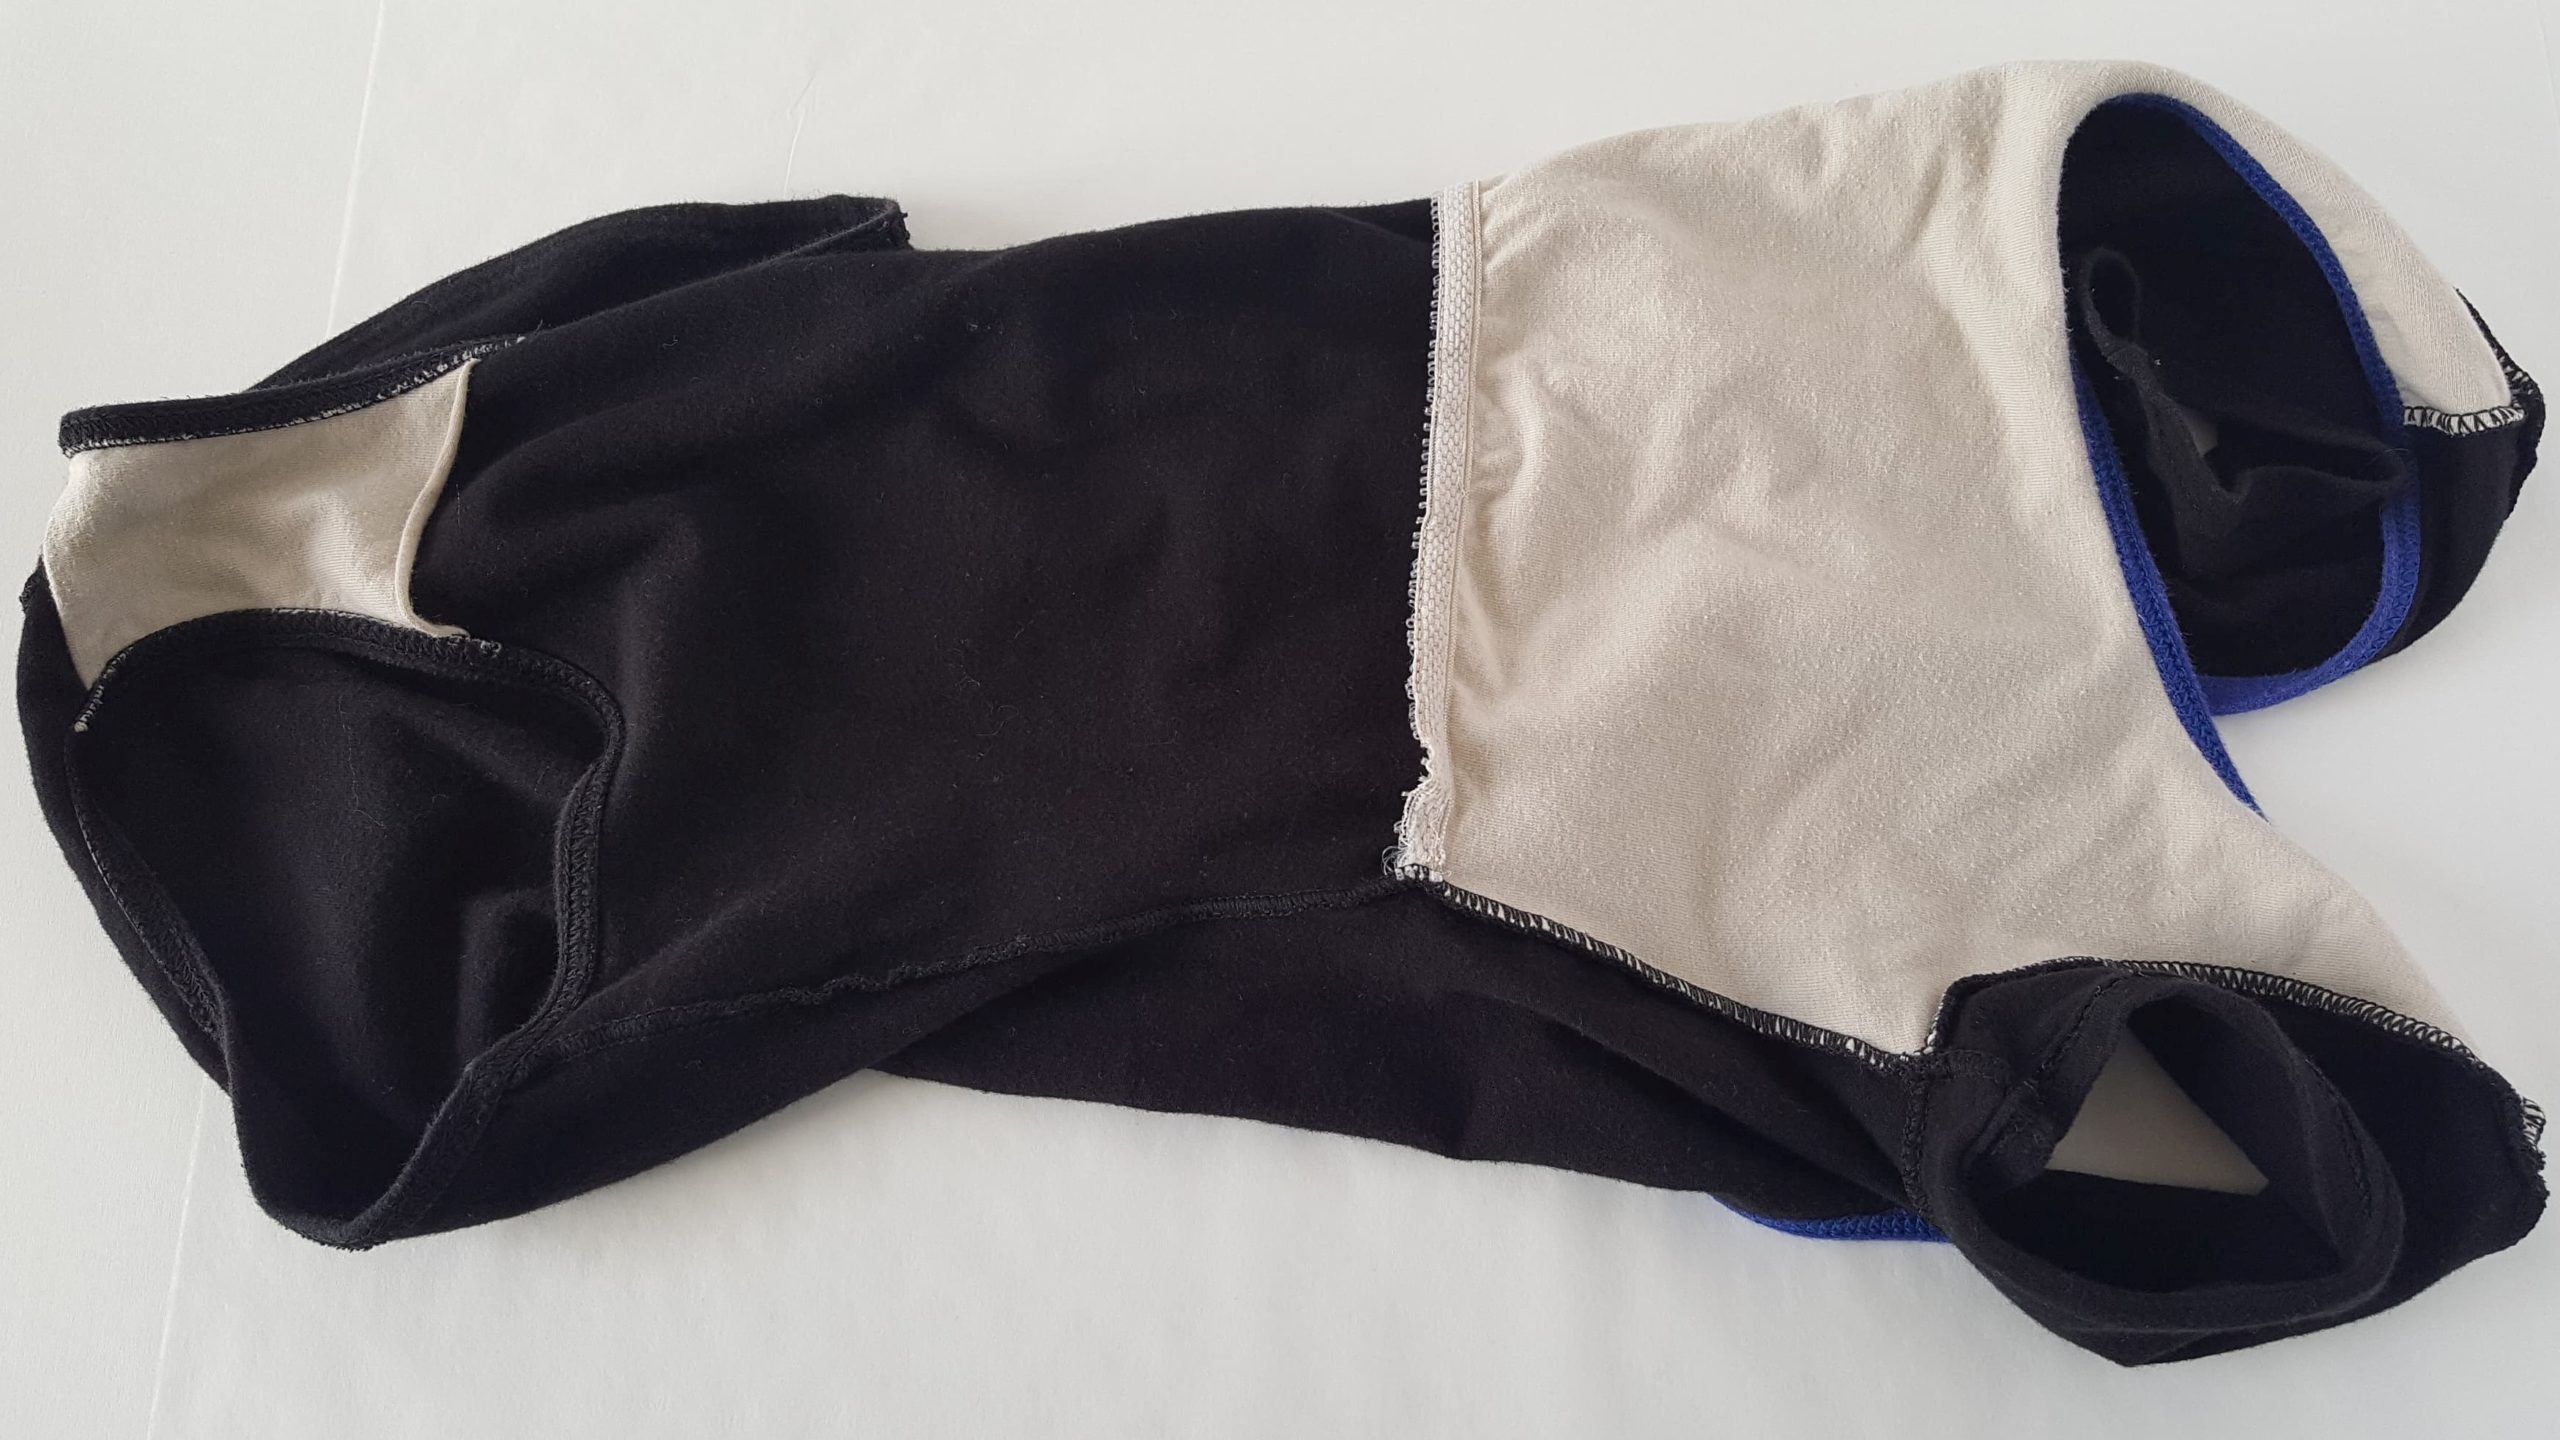
I have come up with a way to sew a leotard that is completely lined, and all but one seam is enclosed.
As in, rather than having rough, serged seams digging into your sides, and lots of exposed thread on your neckline and legholes being pressed into your skin by elastic, those are all covered by silky smooth lining. There is just one exposed seam on the inside, and it doesn’t have elastic around it pushing it into you.
Typical leotard with exposed stitching on the inside and partial lining
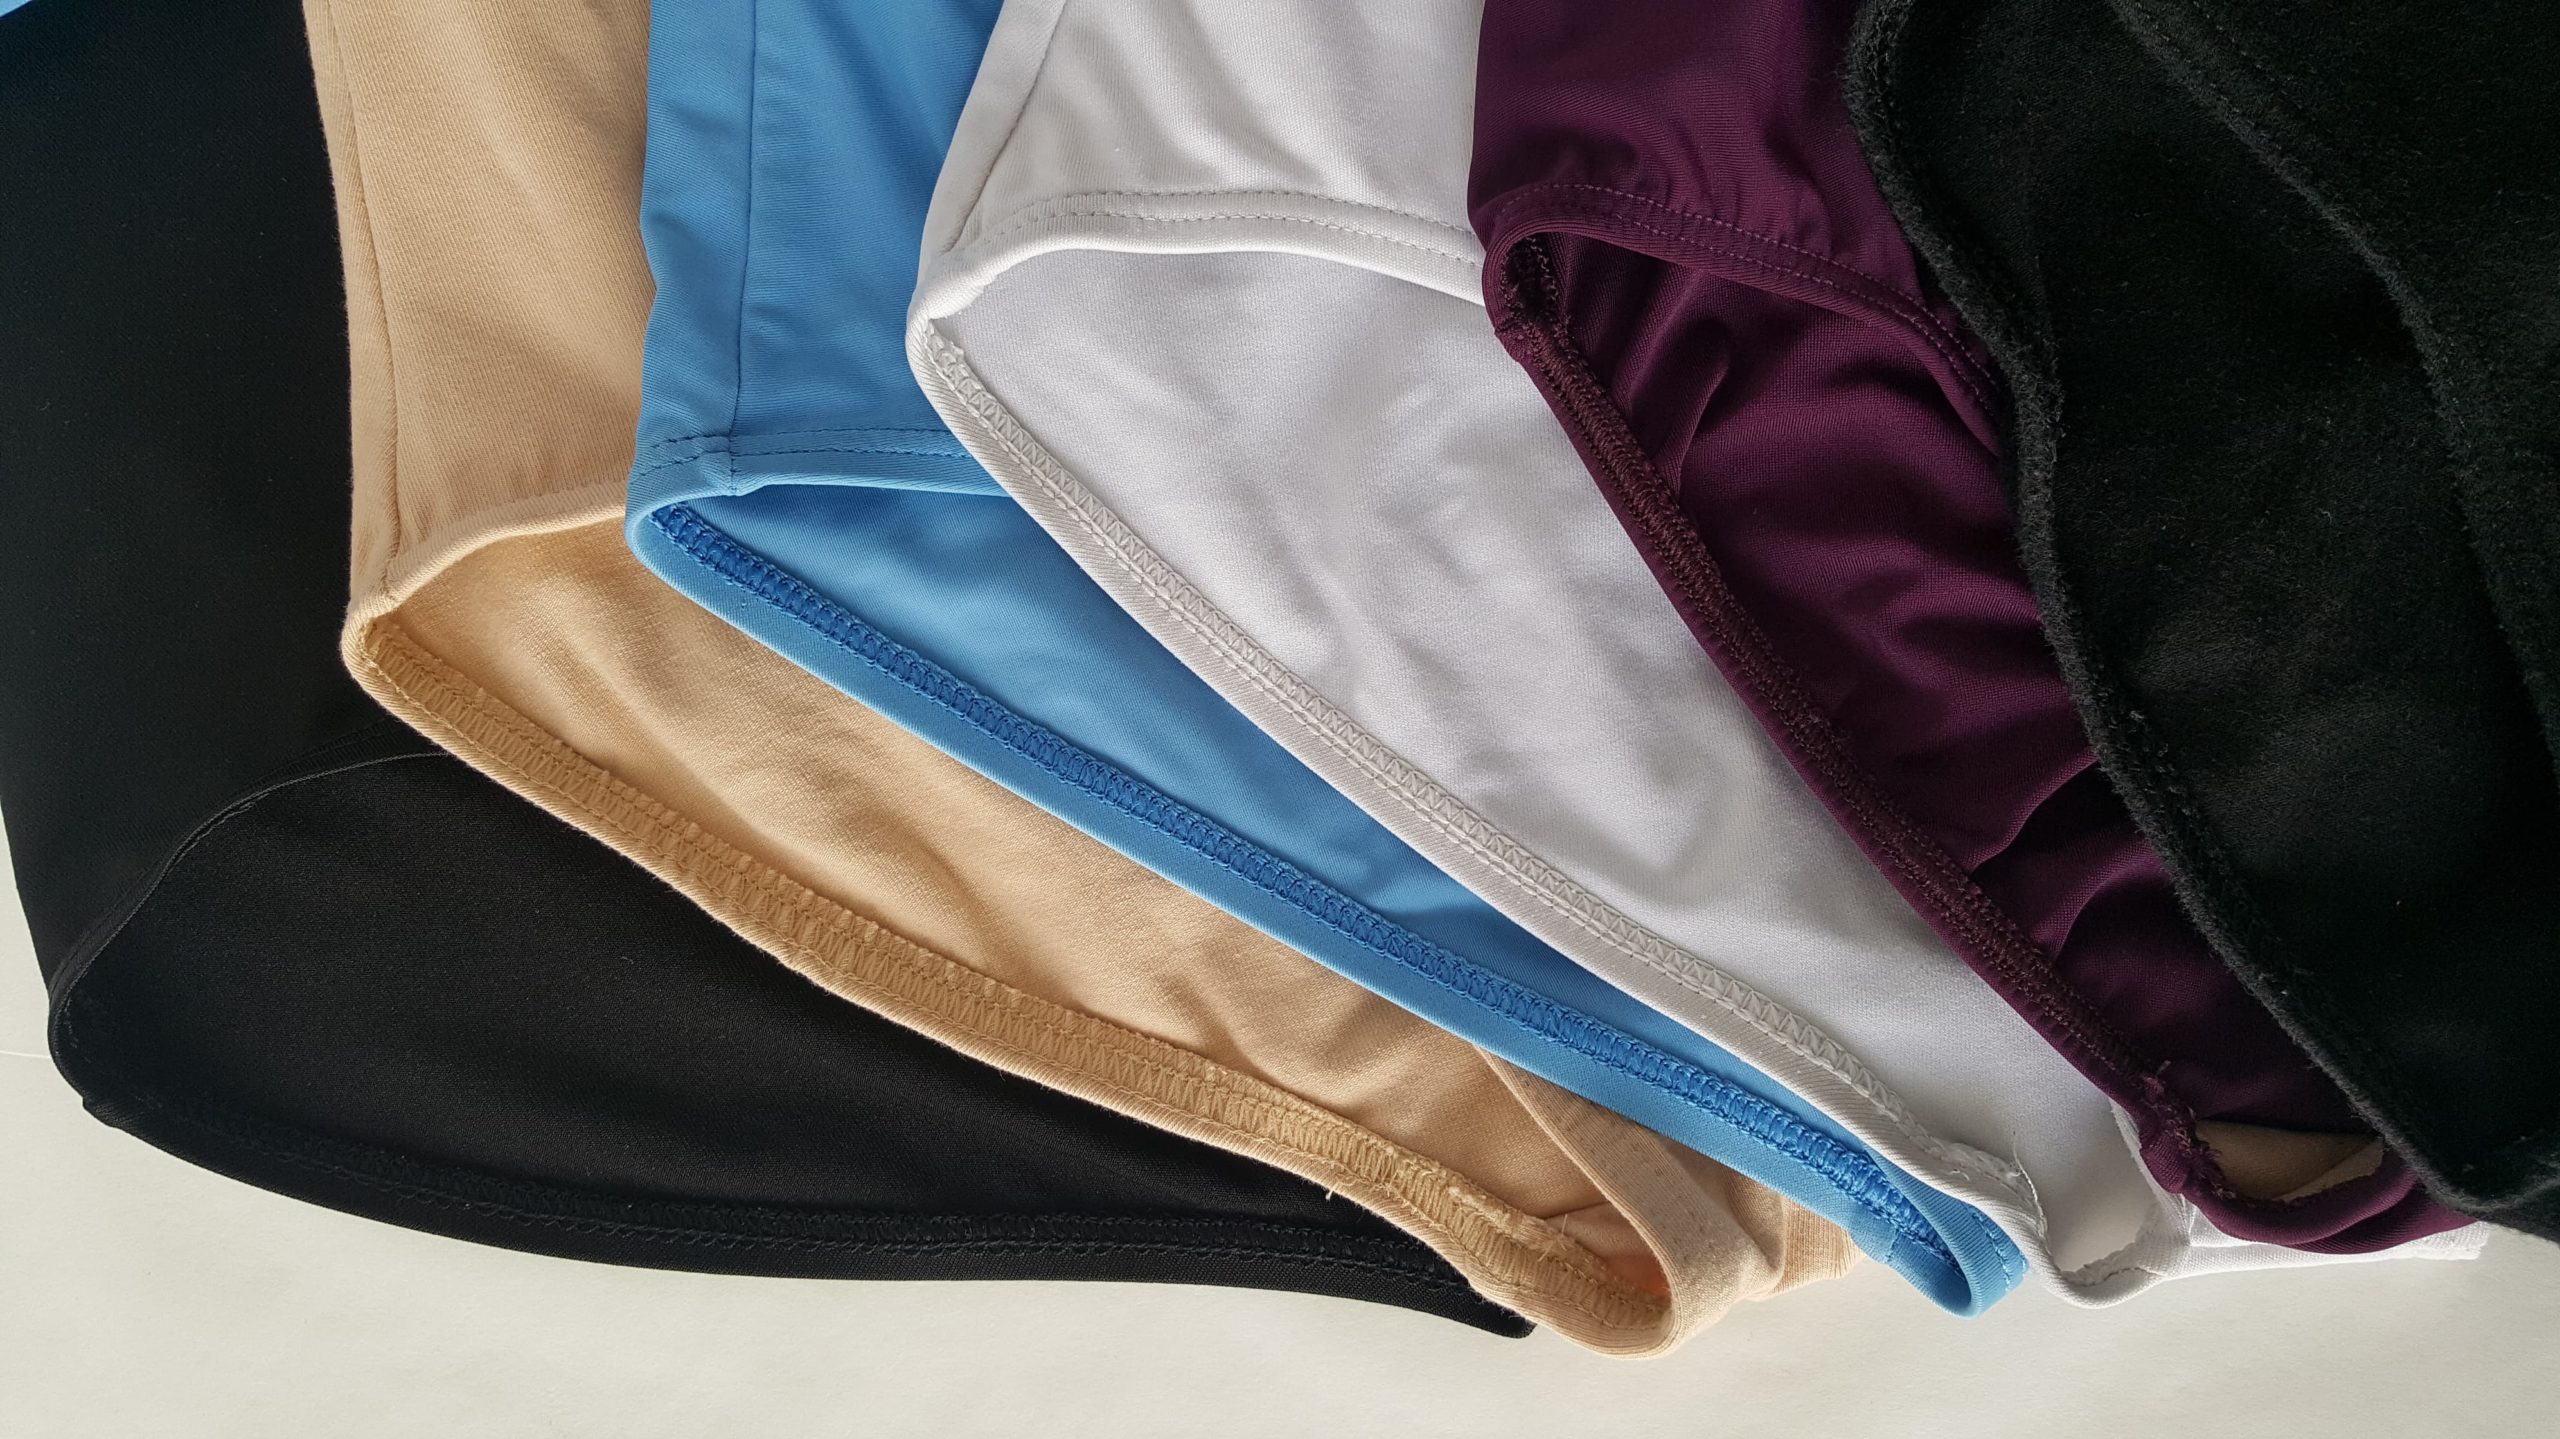
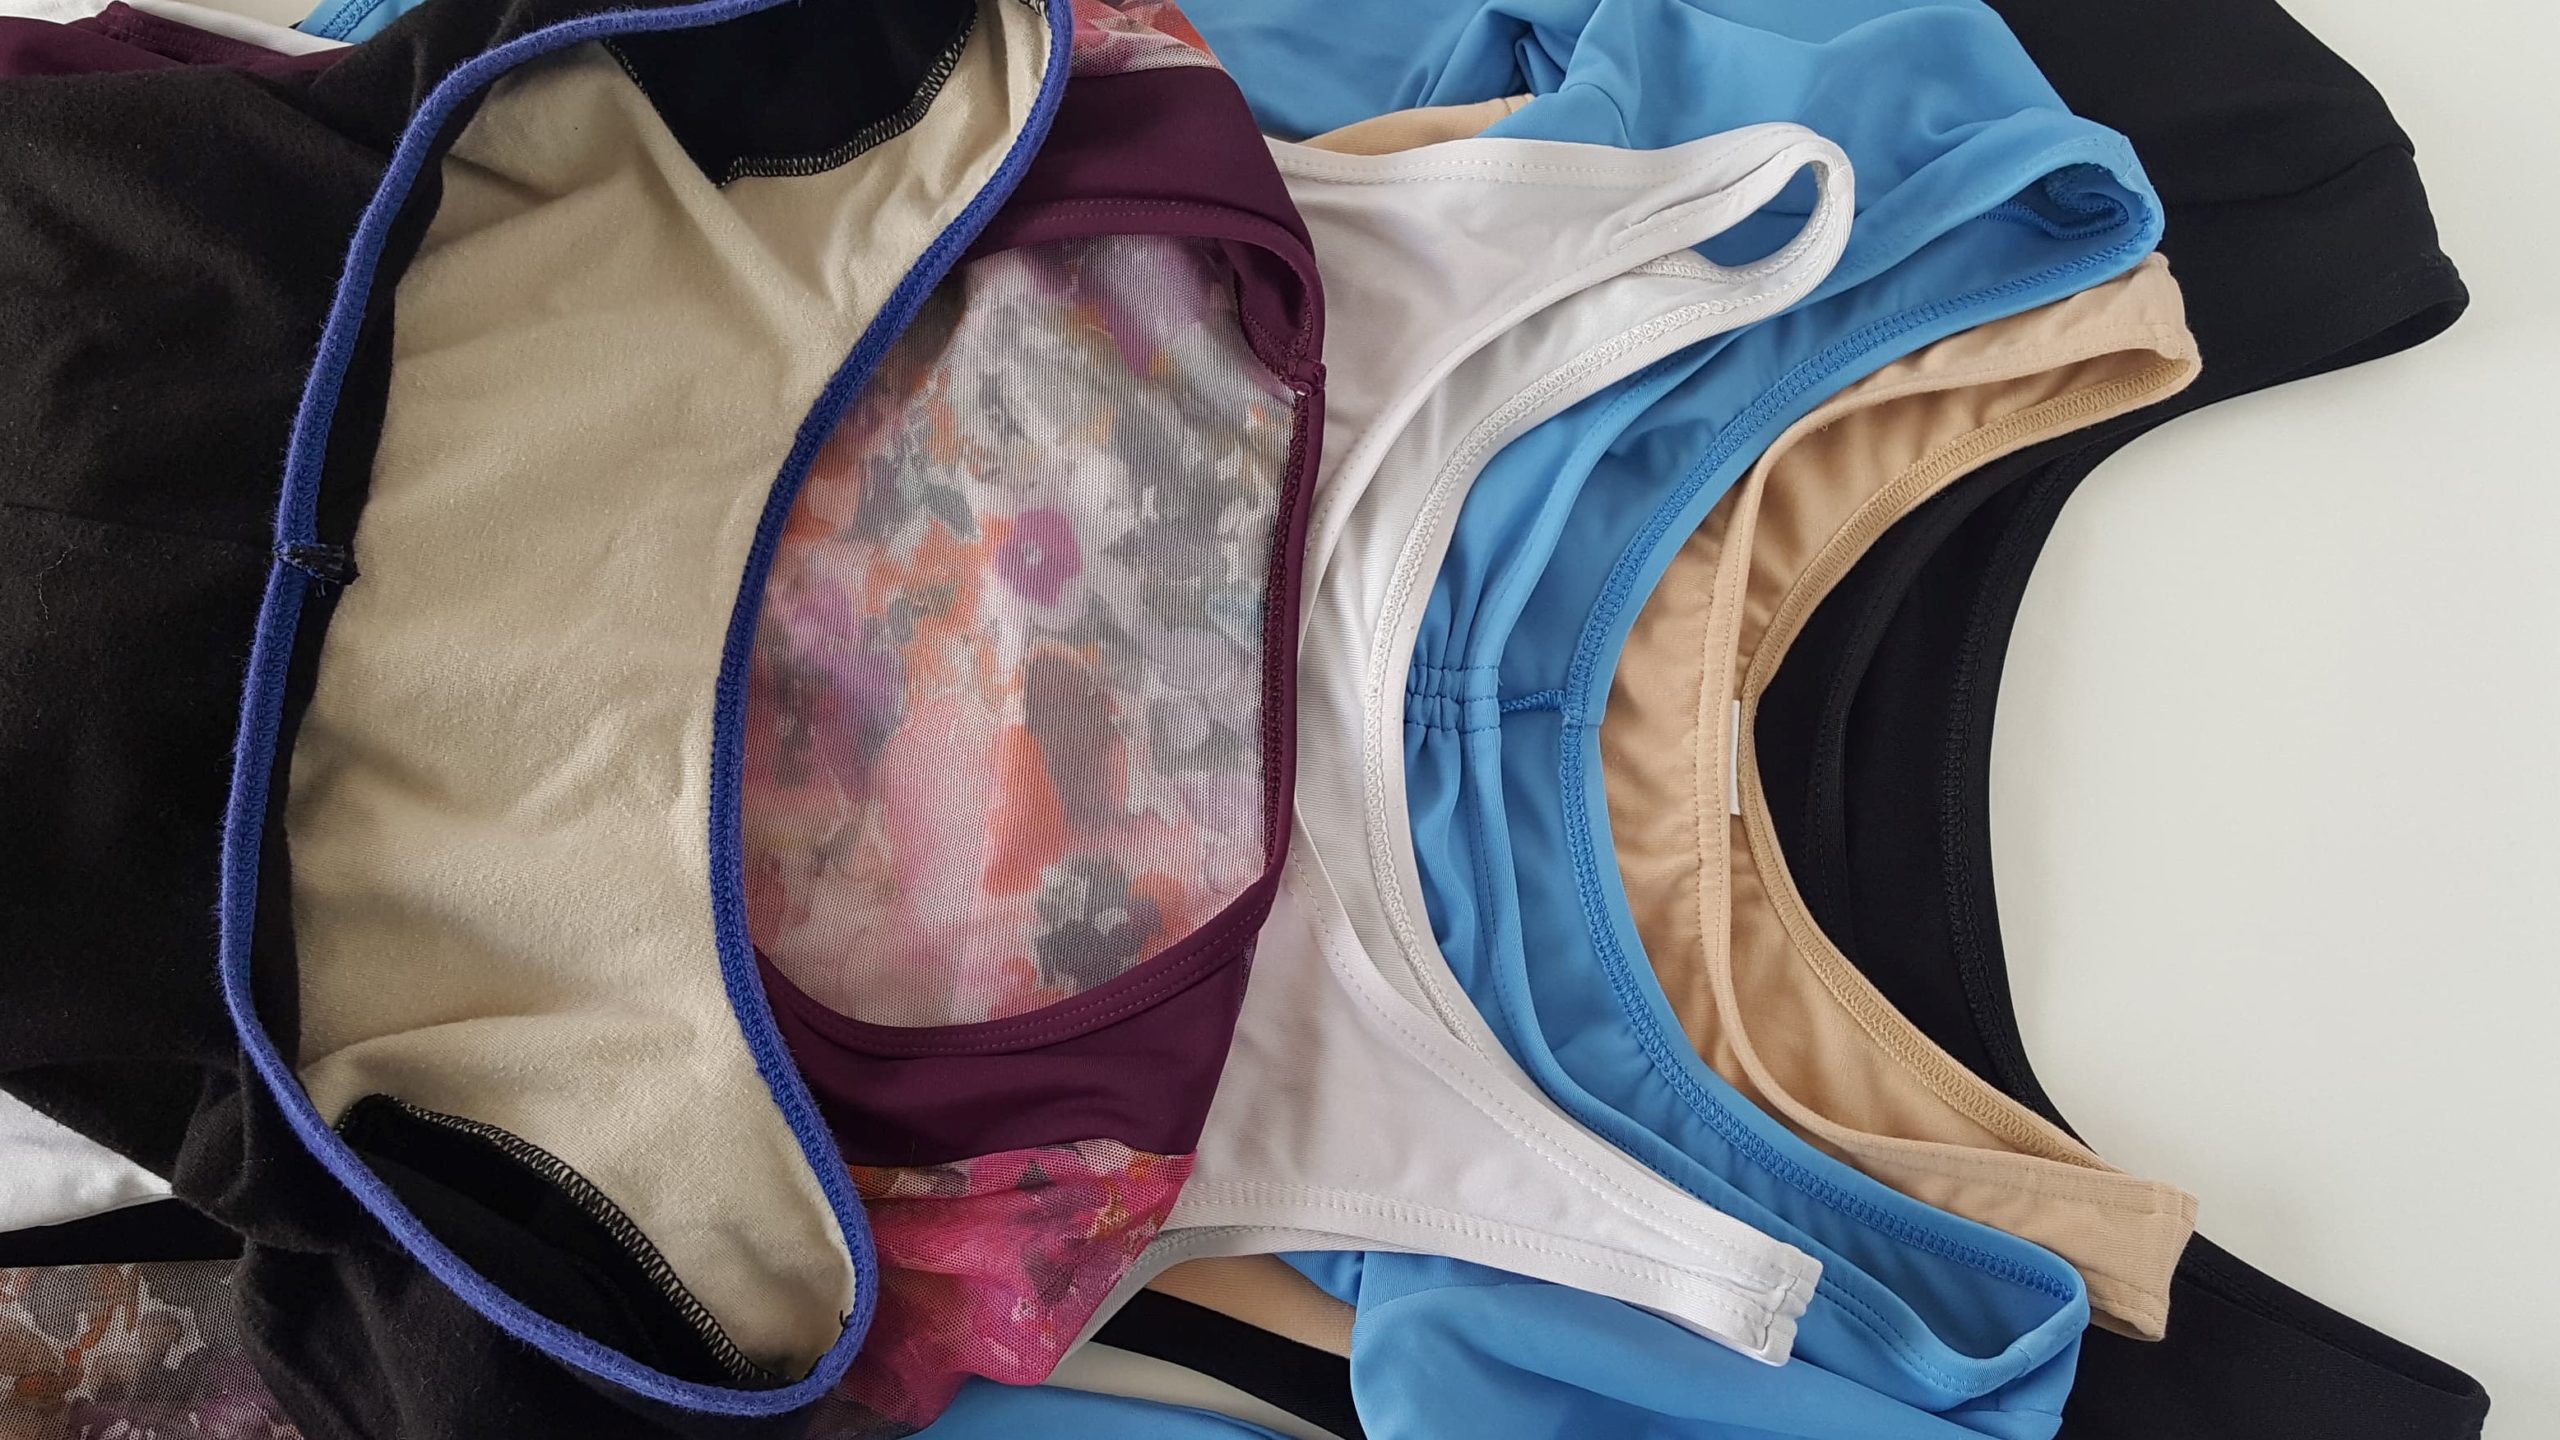
Typical leotards with double-needle stitching on the outside and lots of exposed stitching on the inside
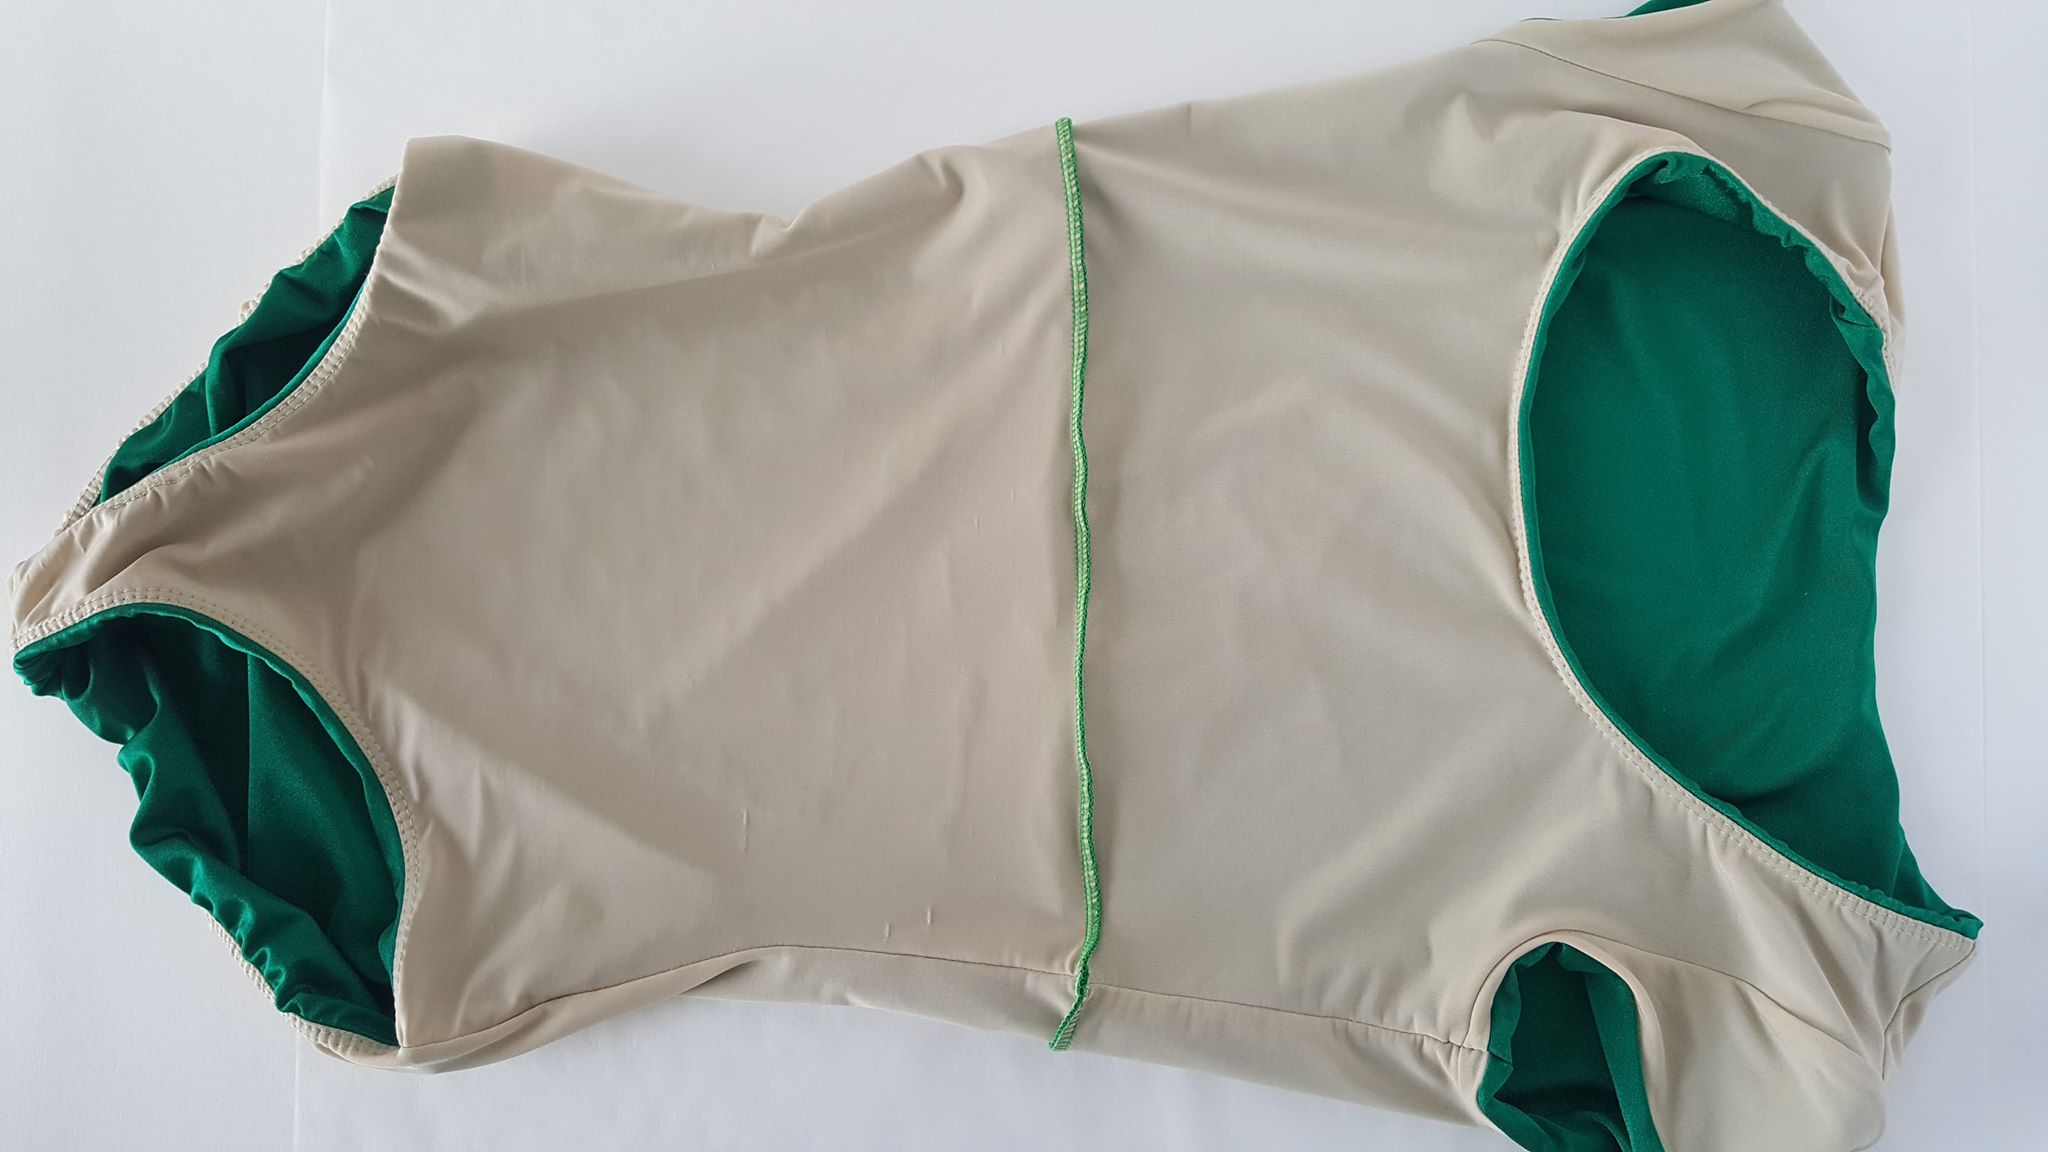
Tia’s Leos leotard with silky enclosed seams and complete lining
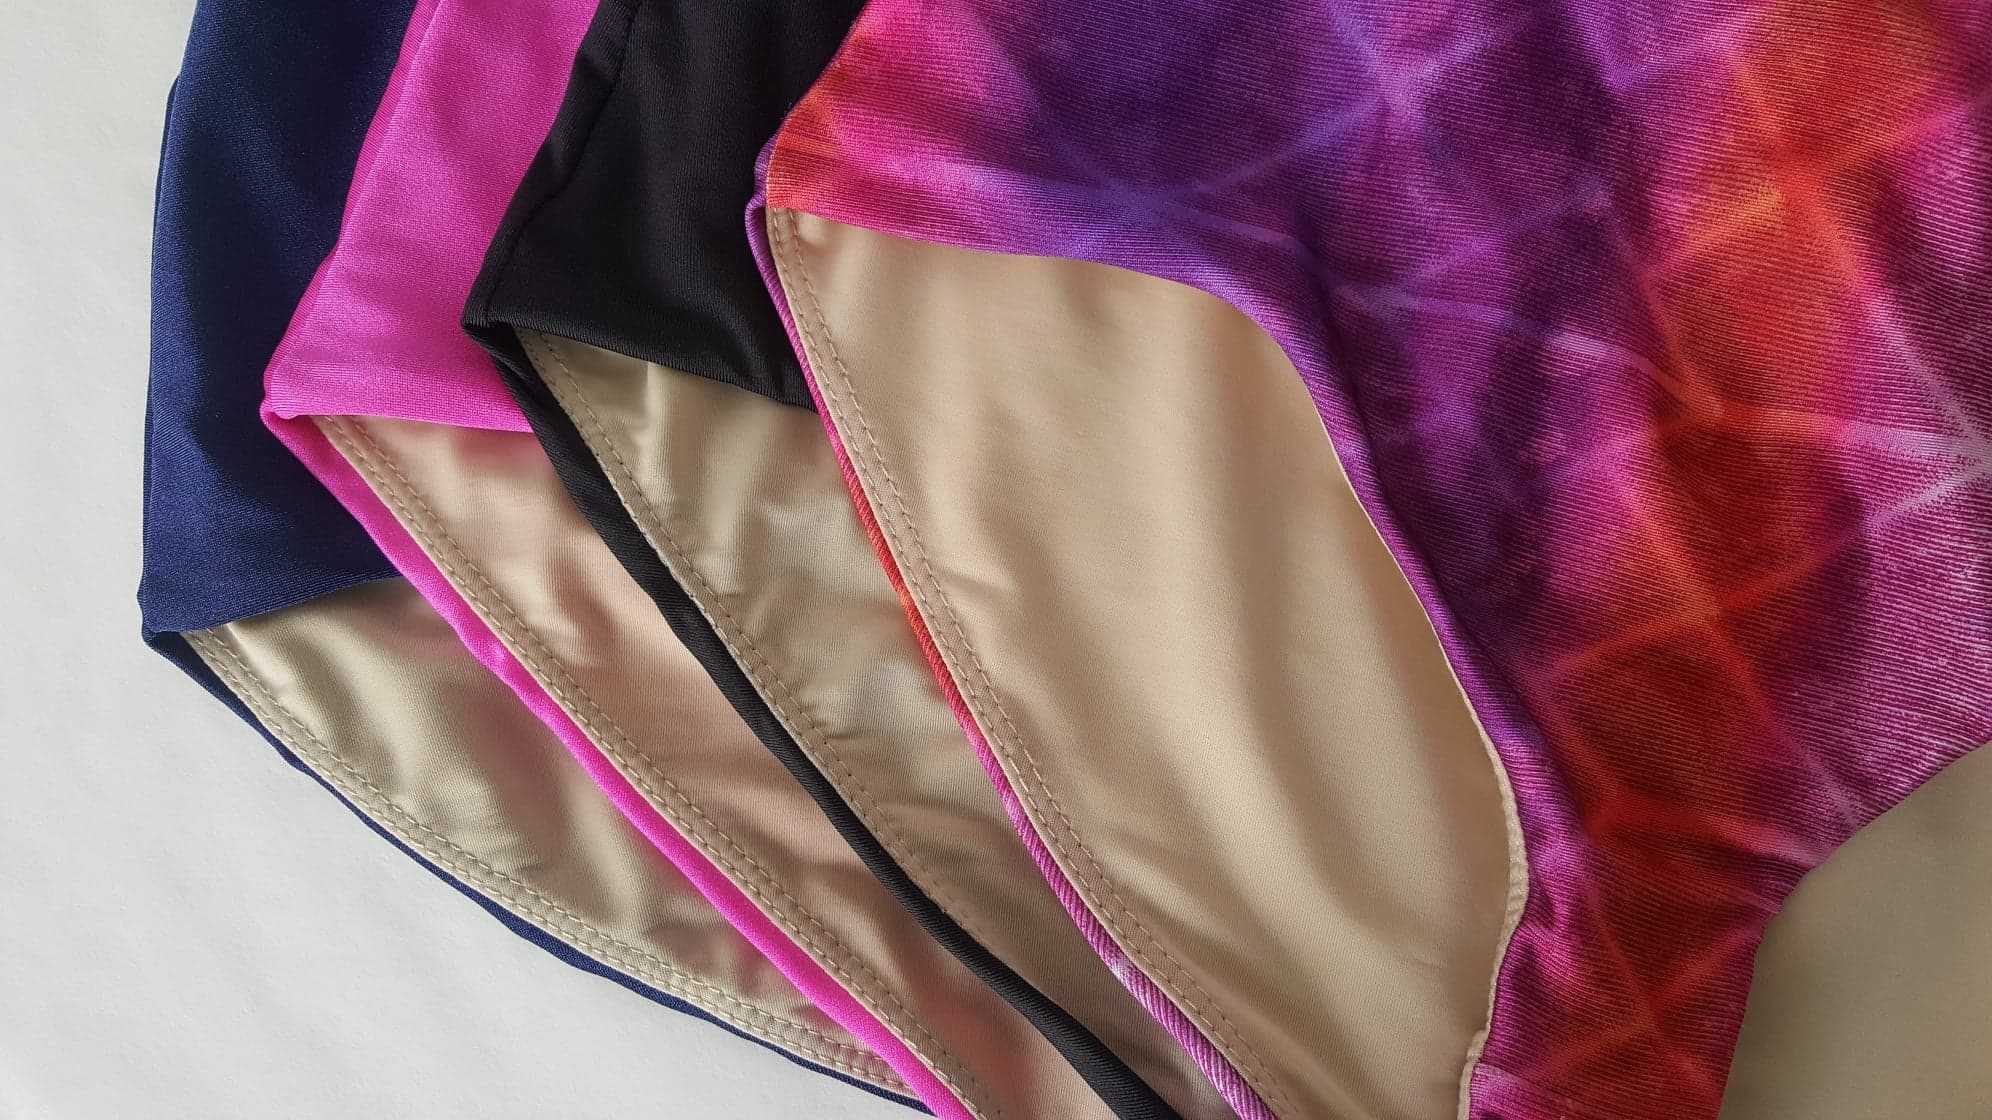
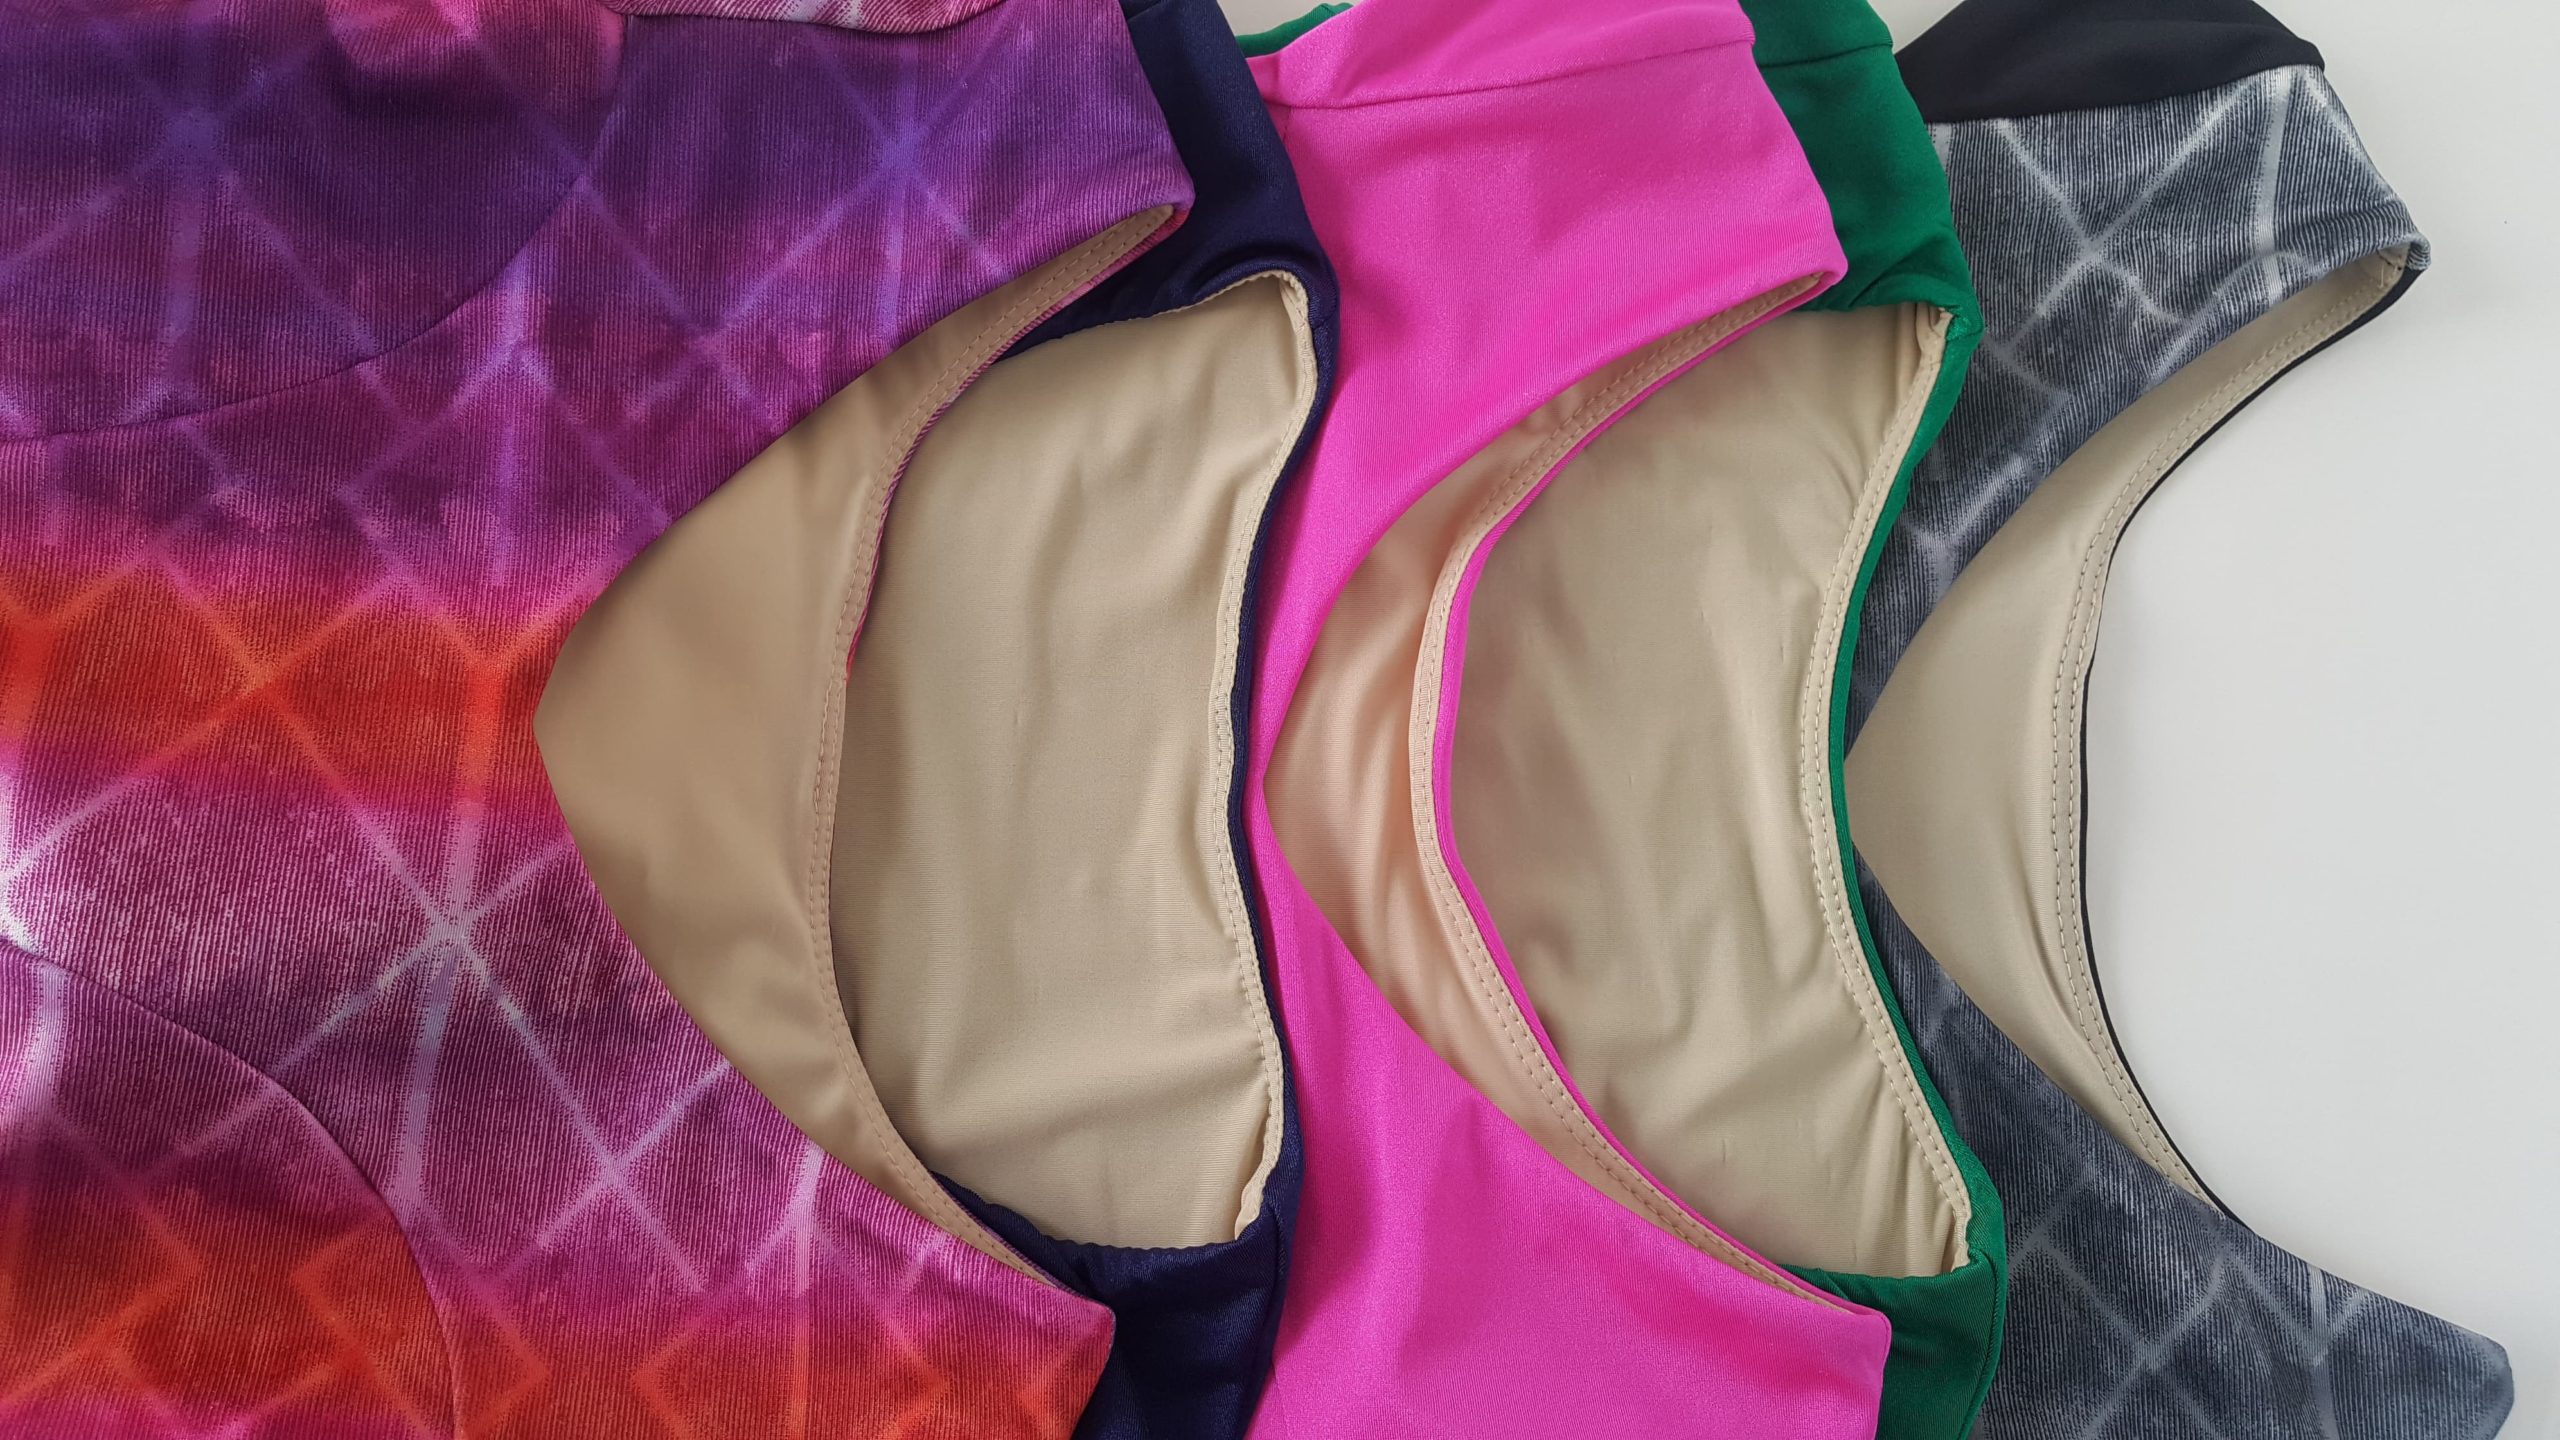
Tia’s Leos leotards with no stitching on the outside and smooth, double-needle stitching on the inside
It’s sooooooo niiiiice.
But that’s not all! 😀 (Can you tell I’m excited)
My leos are also custom-fit specifically for YOUR body.
Sooo if you’re that dancer with a long torso, and leotards are always too tight lengthwise—NO MORE of that!
Or if you’re that dancer that is one size on top and another size on bottom, so your leotards are always too tight or too loose in one area—NO MORE of that nonsense, either.
You and I together will get a few important measurements of your body, and then we’ll make a fantastic leotard that is just for you. It will be snug and comfy and secure, but not constricting!
Yaaaaaas
So here’s what you can expect:
When you sign up, you’ll get an email from me with Day 1 of the DIY Athletic Leotard Course!
I’ve broken the process down into 3 days so that it’s in manageable chunks, but you can speed ahead or slow down if you want!
Day 1: Make a Customized Basic Leotard Pattern
On day 1 we’ll start by taking 10 measurements, and we’ll use those measurements to make a leotard pattern that is custom-fit to your body. This basic leotard pattern is one that you can use over and over to design new leotards without having to start from scratch every time!
Day 2: Design Your Leotard and Choose Your Fabrics
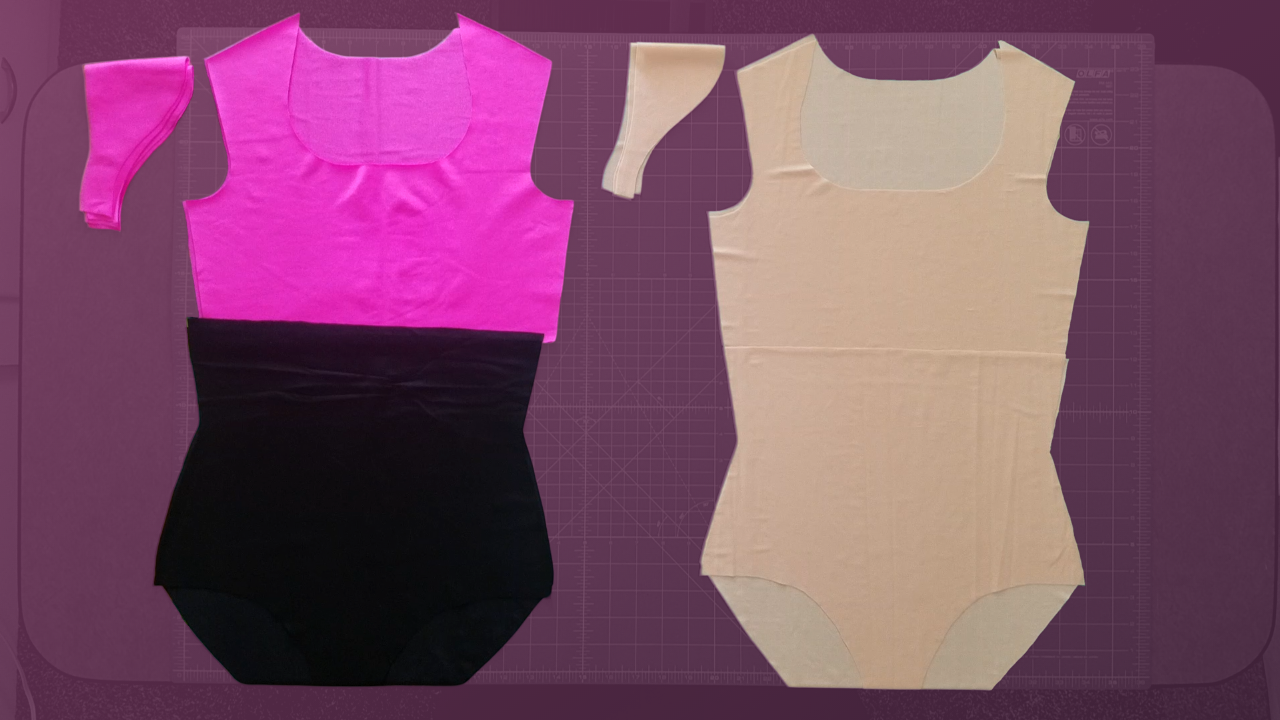
On day 2 we’ll trace your basic leotard pattern and use it to design a simple leotard with a curved neckline, cap sleeves and a seam under the bust. Then we’ll talk about fabric and other materials you’ll need for your leotard, and you’ll wash and dry your fabric to get ready for day 3.
Day 3: Cut Out and Sew Your Leotard
On day 3 we’ll cut out your fabric using the custom-designed pattern you made just for your body, and we’ll sew it together! I’ll take you through the whole process step-by-step with videos so you can see exactly what you need to do. By the end of day 3 you’ll have a leotard!
BTW—
This is a sewing course, not a sewing tutorial. So you won’t find long written instructions with pictures in a long blog post, or a sped-up video to give you the gist of what I’m doing. Nope!
Instead, you’ll find in-depth videos and I’ll be showing you step-by-step what to do in real time, with short written instructions to go with each step. The videos are short, and intended for you to be able to watch, then do, then watch, then do!
I wanted this course to be as clear and easy to follow and replicate as possible—because I want you to experience what it’s like to have a custom-made leotard designed to support you as an athlete!
Another btw—if you are afraid of sewing stretchy fabrics, let me show you in my course why stretch fabrics are actually my favorite to work with. 🙂
And p.s. I use a serger and coverstitch machine to sew my leotards. But if you don’t have those and don’t want to buy them, you could also use a zig-zag stitch on a regular sewing machine.
So then!
Are you ready to create a gorgeous, custom-fit, athletic leotard that’s super comfortable to dance in?
Come sew with me!
